Do you want to know how to make clipping mask in InDesign? Masking is a technique or a skill in several design applications, including InDesign. There are many ways of making masks with InDesign. The most preferred way is the one that uses custom frame shapes for making masks.
How to make a clipping mask in
InDesign?
Given below
is a step by step guide to making a clipping mask in InDesign-
Step 1
Most of the
objects in InDesign are used within frames. These frames come under the
category of clipping masks. You can move the content inside the frame according
to your own will.
InDesign
has an inbuilt form of masking in its basic design. You can use this feature to
create shapes and frames by pasting images that you want to hide into
them.
How to mask in InDesign?
Open your document.
Import any image from your files.
Select an image and click on Open.
Step 2
You can
quickly move images from the frame by clicking on the middle circle present on
the image. You can also use the Transform tool to crop or clip the edged part
of the photos if required.
Step 3
You can use
the rectangle tool that is present by default on the frame of the image. Another
way of creating a different shape to make your clipping mask more attractive
is-
Go to the toolbar on your screen.
Click on the ellipse frame tool.
It will
help you to create an attractive clipping mask.
Step 4
Find out the circle tool present on the top of your image. Select this
tool and hold on to it. It will help you to gauge and place the clipping mask
in the right place.
Step 5
Click on the selection tool. Go back to your image. If you want to cut
your print you can click on the edit option and then select the cut option. You
can even copy any photograph into your clipping mask.
Step 6
Select the circle frame that you have created before. Now that you have
already cut the image, you need to paste it. Go to the edit option and click on
paste into the button to paste this image. If you use any other pasting image
method, it will create another frame for it rather than pasting it into the
same structure.
And the result of all these steps is a perfect clipping mask. You can
also use this method with other shapes and frame tools.
Importance of Clipping Path: Uses of clipping masks
Some primary clipping mask uses are-
Clipping masks are used to apply pixels to colors.
You can apply several adjustment layers with clipping masks.
You can also remove fringing with the help of clipping masks.
Clipping masks are also useful in the workflow of illustrators.
They enable us to explore and cut shapes in a non-destructive way.
With Years of experiences Shootpro24 placed as the best Photo editing, video editing, photo retouching, and related services provider in Illinois. Contact hello@shootpro24.com for more information.
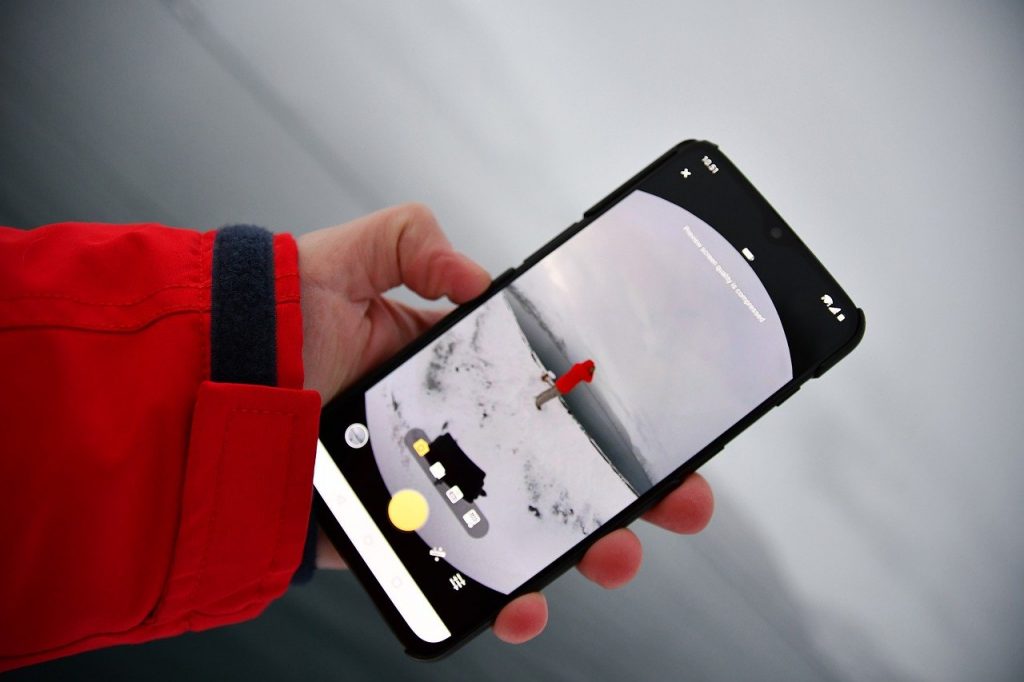
Every customer wants to see hundreds of pictures before buying any product. Even if you offer service, your customer want to watch you online. 360-degree Photography is one of the latest trends in the ecommerce industry that’s making its way to help you project your business online. Through this blog, let us walk you through the most crucial benefits of including 360-degree Photography in your business.
Impact of 360 photograph on
your business
Some of the significant differences that
360-degree photography can bring to your business are-
Enhance The Experience Of Shopping
Shopping always becomes interesting with a memorable experience. The pandemic outbreak has decreased people’s outgoing shopping to shopping malls, or stores reduce customer experience. But 360 photography is a solution to this problem. With the help of 360-degree Photography, a customer can interact and feel the product with their cursors.
You can easily drag and move the image from any angle and view the product more closely. A customer’s view is not limited; he or she can see the product from any side.
Hence, 360-degree Photography is a great way to enhance the satisfaction and experience of online shopping. Presence of High-quality Google my business 360 photos on your business website will improve the user experience significantly.
Builds A Positive Image
The inclusion of Google
360 photography on your website will help you build a
trustworthy image among your customers. The customer will get a feeling that
he/she is interacting with a well-established company. It will eventually
resist the customers from hesitating while buying your product. A 360-degree
virtual tour will tell the customer about your products and show them the
actual product. It shows the honesty and transparency of your company.
Less Return of Goods
One of the primary concerns for any shopping or ecommerce website is the return of goods. A return affects the image and adds to the cost of your business. Every customer wants some assurance and surety that the product they are buying will give satisfactory results.
The excellent image with 360-degree Photography will help the customers gain confidence in your product and business. By offering your visitors 360-degree Photography, you can decrease the return of goods and increase your sales.
Increase in Revenues
360-degree content is the media of the next generation. When you combine all the factors mentioned above to your ecommerce business, it is self-evident that your revenues will increase. Google photo tours will bring more attention to your business. One 360 degrees photograph is worth hundreds of 2-dimensional pictures.
Help The Visitors In Making Correct Decisions
With 360 degree photographs, a consumer will already know what he or she is buying. There will be no confusion after the purchase of the products. It will attract more customers who are interested in your business because of its high-quality products. People will what exactly they are buying when they get in contact with your business. It also increases the customer’s interest in your business and products.
Conclusion
Now that you have in-depth knowledge of
360-degree photography benefits, you can present your business in a unique way
to the world.
Many companies are starting to usepromotion brochures as marketing strategies that help their products and service come into the limelight. More than 3/4th of the online marketers today understand that consumers are more likely to remember and relate to a video that they watch. The more viewership they have, the more sales and awareness for the brand. This article is about the uses of video brochure for business.
But that’s not all; video brochures offer other benefits for the business that now marketers are using as a powerful marketing tool. From a wide range of services, we have compiled 5 of them for you. Take a look:
Benefits Of Video Brochure For Business
1. Approval from Google
We all rely on Google, and Google loves videos, as it often prioritizes videos in the results. A video on your website is likely to attract more visitors. When you have an optimized video, appearing at the top of search pages is highly expected.
A
higher ranking is essential for your brand awareness and the credibility you
will build. The more exposure you have, the more people will pay acre to
remember your brand name.
2. Building trust with your customers
If you want to drive sales, you will require a brand trust, which you can eventually turn into loyalty. But to build brand trust, you need to work on building a connection with your potential customers.
A video brochure can show your customers the things you will and how it helps their problems.
3. The mobile audience is the real audience.
Statistics say that in the near future, mobile users will be more prevalent than PC users. As busy as people are getting, they like to browse the internet while moving, and people are constantly moving.
So, marketers are starting to build mobile marketing strategies. Video brochures work great for mobile audiences and are likely to check out a video when trying to kill time.
4. Easier to connect with customers.
The advantage of video brochureis that it can be short and yet to connect to the audience. Quick and straightforward content is essential because people have short attention spans. From thousand of different videos they can watch, a fast and exciting video is the only thing that can catch their attention and keep it.
A video with an intriguing description is likely to attract attention, while a video that tells a story encourages curiosity and addresses the audience is likely to keep the attention.
5. Boosts sales
A
video brochure is a form of a promotion
brochure that marketers want to rely on. According to statistics, 81% of
people are convinced to buy or try out a product after watching a promotional
video.
Customers
will get information and details from the video and understand the product’s
proper uses or service.
Conclusion:
Videos have always been a useful learning technique for most, and people worldwide watch all forms of videos. Videos take less effort to understand and grasp knowledge and details. You are more likely to be curious and attentive towards a video message rather than a written one.
Shootpro24, is a photo editing and video editing company in Illinois. With the great experience and high quality team assures for providing all video editing needs.
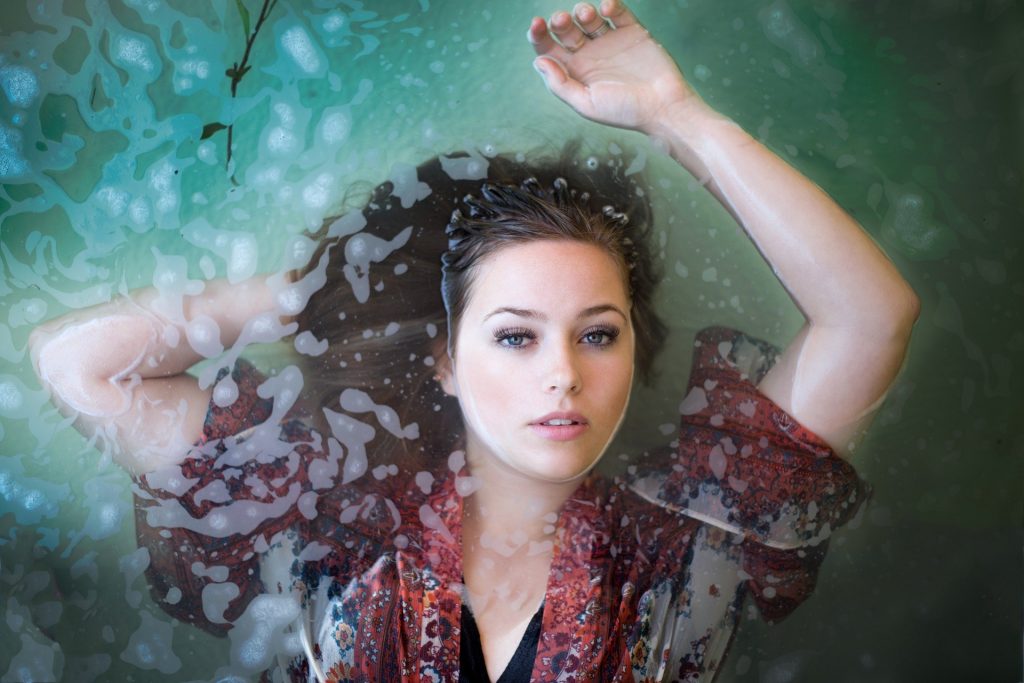
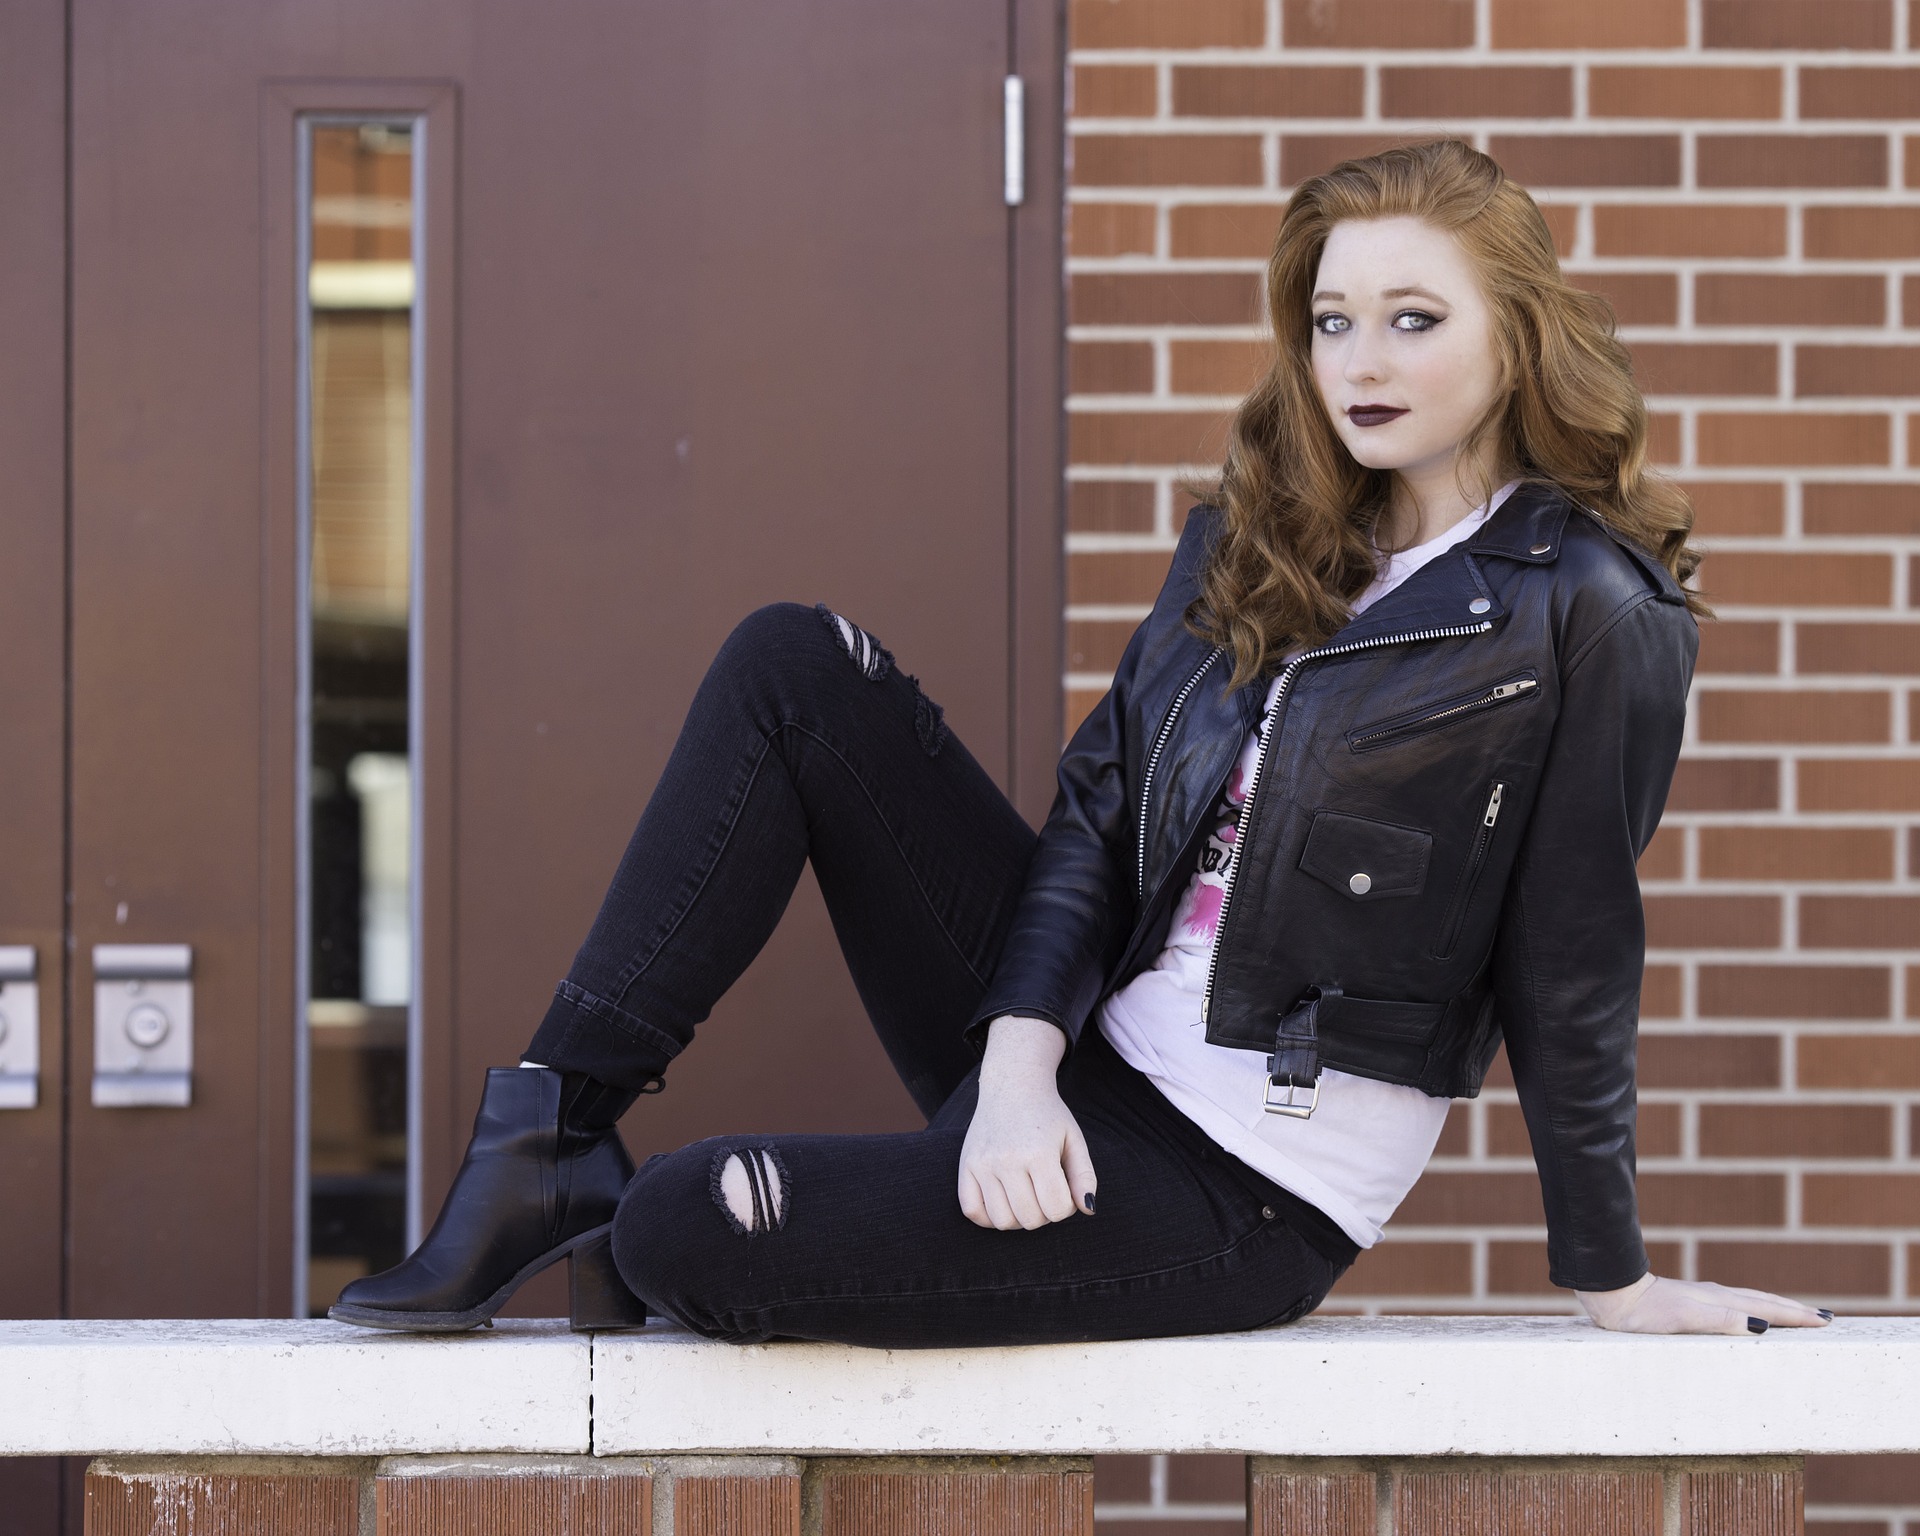
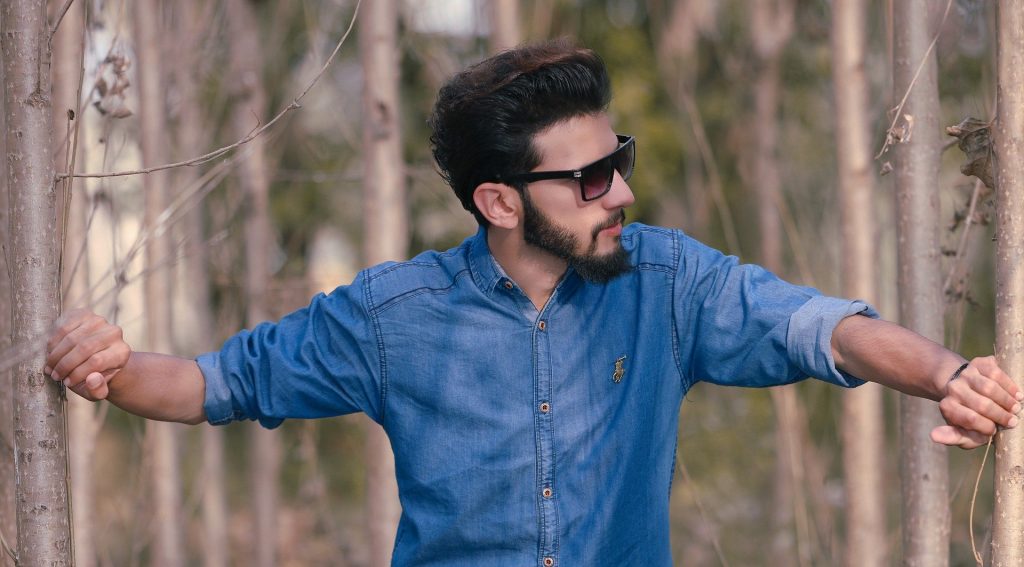
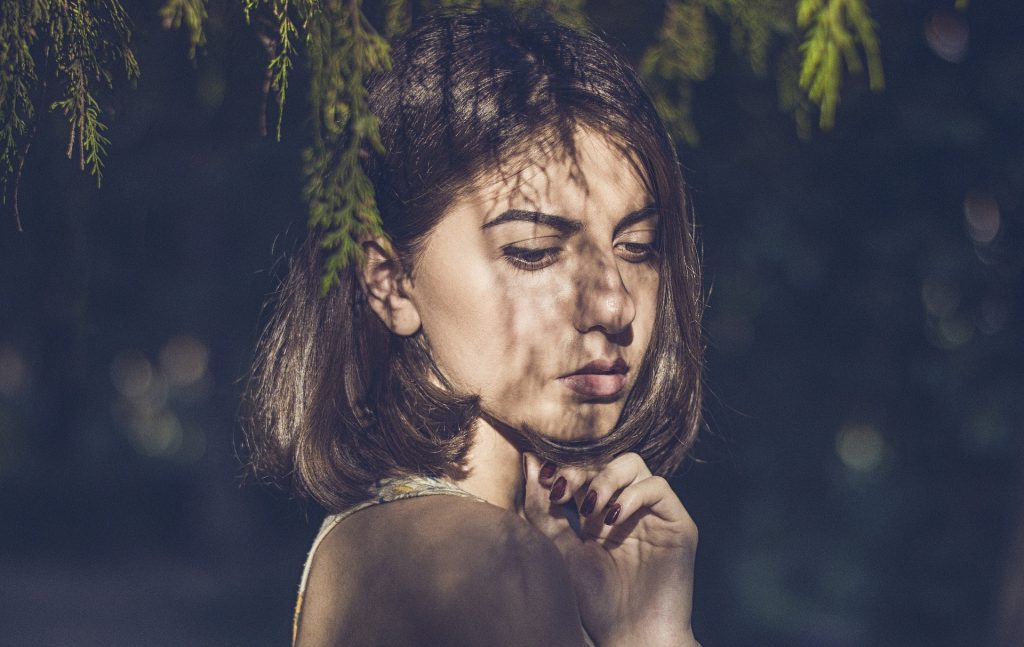
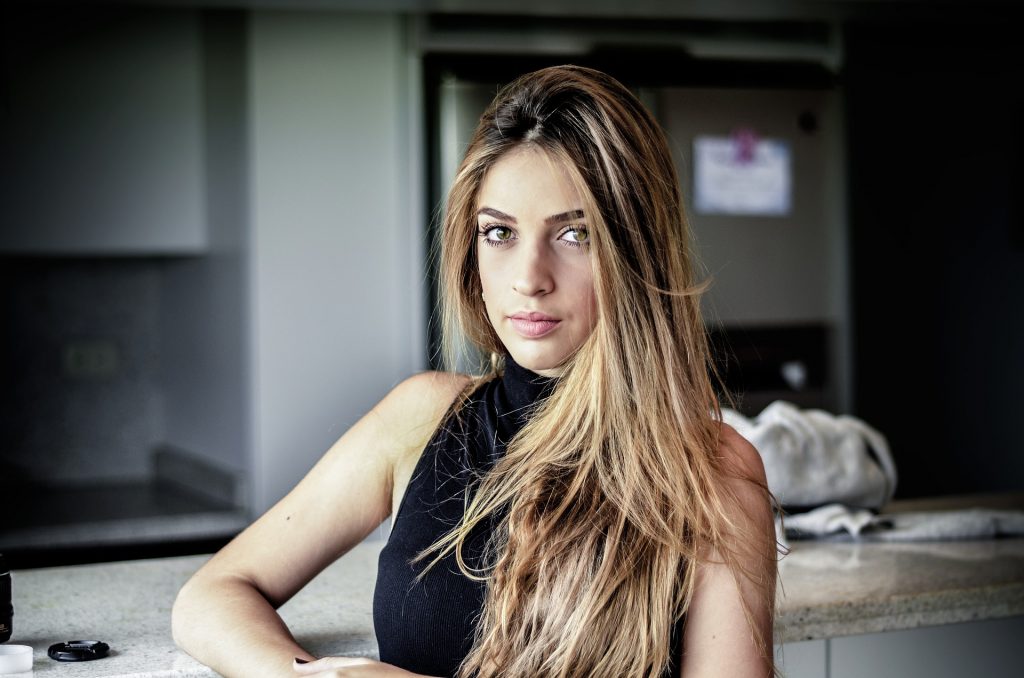
Confused to get the best Portrait photography? Here explaining the top 10 amazing tips to take the portrait clicks perfectly.
This will bring your photography skills to the next level. Once you have gone through this article you will be able to shoot amazing portrait photos.
10 Tips For Perfect Portrait Photography.
Tip No: 1
Background Settings
Select the perfect background for your photo shoot. It is as important as your subject to shoot. Because a distracting background will disturb the attention of the person from the camera.
However, don’t try to choose a completely plain background. For example, an interesting wall with good color or texture will give a great look to the portrait. Or you can arrange any good content, musical instruments, etc for the background.
Tip No: 2
Subject Setting
Even if you are using the most expensive camera, the resultant picture will be poor if you didn’t set the subject properly. So, arranging the subject is an important factor for shooting portraits.
Set your subject in a comfortable and relaxed position- It is the best way. Being photographed is a little bit unnatural maybe that gives a stressful experience to the subject. So your first duty is to give a comfortable atmosphere for your subject and make them free.
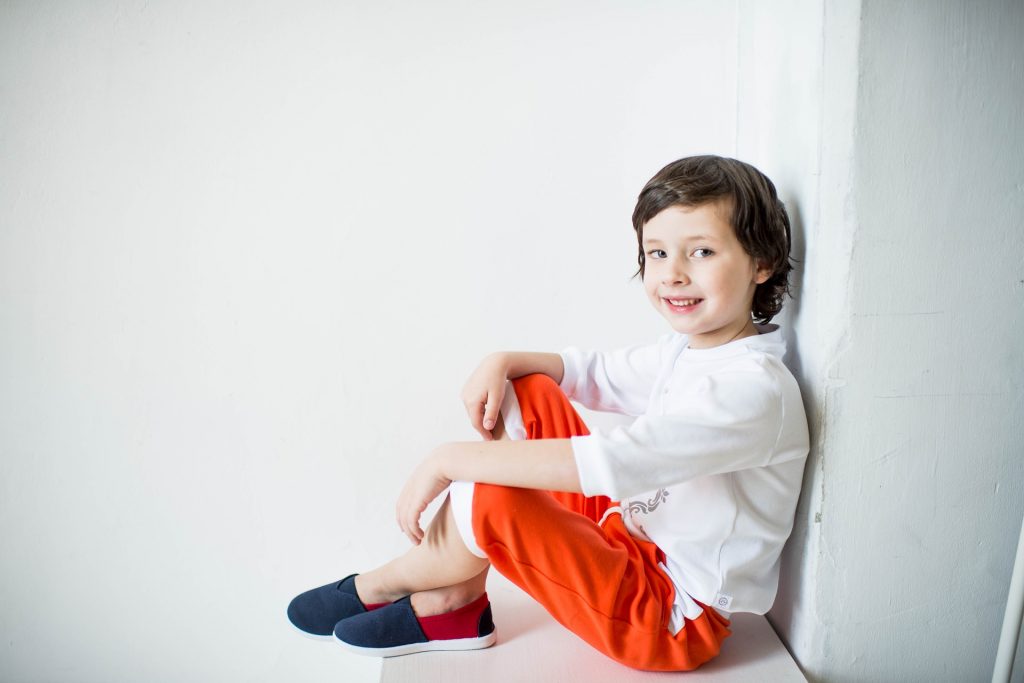
Be with a friendly atmosphere by making small talks and all. Children’s photography is a little bit tough, then not to mention children’s portrait photography. To make this situation easy, you can do some interesting games with them and forget about the camera. Encourage them to convert their minds to be happy to poss.
Tip No: 3
Comforts Of The Subject
For the Portrait photoshoot, we need to give importance to the subject mood. Check your subject is distracting with something or not. Disturbance with fluff on clothes, collar, lapels, zips, etc.
One more perfect way to clear all these issues is to take some additional shots before starting the photoshoot.
Tip No: 4
Pose Your Subject Like A Pro
Once your subject is ready for the shoot then, work quickly but confidently. Give clear instruction to your subject for the perfect result.
Keep in your mind- Don’t overwhelm your subject with complicated requests or posses. Understand them clearly and make small and simple adjustments.
Tip No: 5
Pose Adjustment
You can give instructions “Raise your chin a little”, “look here”, “straighten the back.”
Also, explore some different poses which will promise a better portrait photo. Give a clear comfort for them to get relaxed in each shot. All your pose suggestions depend upon your subject comfort.
Have their shoulders and body set slightly away from the camera will give a natural feel. Waists seem thinner if they turn away from the camera. And for some special shoot, you can include hats, balloons, party glasses, flowers, a pen, or a musical instrument.
Tip No: 6
Make Sure That The Subject Is WellLit
It’s a common comment that the portrait will look great with the natural lighting than the studio setup.
A slightly overcast day provides a great light that will be complimentary on your subject. Direct sunlight will create a hard shadow on the subjects.
If you get an opportunity to shoot in sunlight set the background glow with sunlight.
The fill light can be reflected in the sunlight so adjust the settings in the camera. Use the camera’s inbuilt flash to get the perfect portrait.
Tip No: 7
Use A Flattering Focal Length
Focal length has an important impact on your clicks. Because it introduces the predictions about your image distortion count which can break your portrait photography.
To solve this issue find out the perfect focal length of your lens based on the background and lighting.
Focal length has a major impact on your images because it introduces a predictable amount of image distortion which can make or break your portrait photography.
For this select the focal length on a zoom length by rotating the zoom ring on the lens barrel. If the camera is not with a room ring adjust with the zoom +/- button on the camera body.
With many photographer suggestions, here is an amazing tip that is updating for you.
A 50mm focal length adjustment will give an accurate representation of the subject. Because this length will not create any distortion to the subject face.
Tip No: 8
Aperture Priority Mode – Blur the Background
Try this method, this will gives a sharp look at the subject. The blurred appearance of the background allows your portrait subject to stand out.
To get an amazing result, you can control the depth of your camera field by lens aperture adjustments.
To change the aperture, first ensure that you set the shooting mode to AV Mode or Aperture Priority.
In the next step by using the thumbwheel, or dial button increase or decrease the value of aperture. If you are using Canon 5D mk the aperture value will be changed by the main dial button just behind the shutter button.
Tip No: 9
Expose For The Subject’s Face
The exposure means how bright or dark the output is. In portrait photography, the main importance is the visuals of the subject’s face.
So here you have to check the face is correctly exposed or underexposed or overexposed. Check whether the face is not too dark or not too bright.
You can adjust the exposure compensation based on the mode of your shooting.
Most of the cameras have several autofocus options, you can adjust there too to get a better result.
Tip No: 10
Focus On Subject Eyes
Portraits look great when the image shows a sharp focus on the subject’s eyes. It improves the visibility and image contact of the viewer. Creating a powerful engaging photo with your amazing click.
To get such photos your camera focus needs to be sharp. You can meet some experts to edit portrait photoshoots. This will give a pleasant feeling for you after the shoot.
Conclusion
Photography is an art, if you doing with your passion the results will be glorious.
In this write-up, you have gone through the amazing 10 tips for capturing the perfect portraits.
Try these and update your valuable feedbacks in the comment section. You can reach us for all your photo editing and video editing needs.
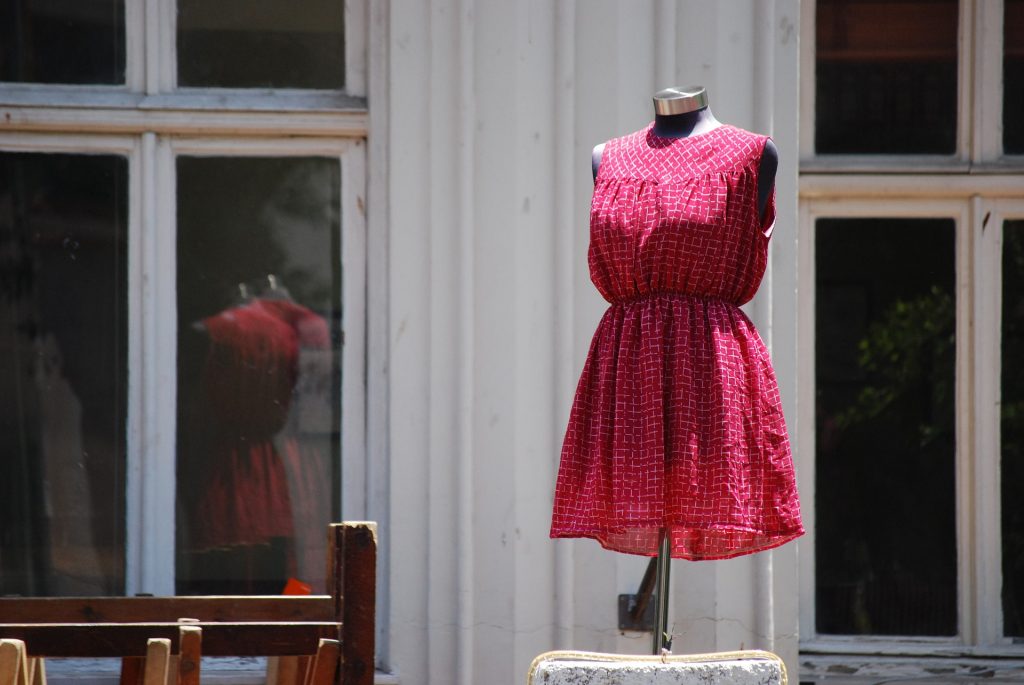
It’s true, that the high-quality retouching images increase the customer’s attention to the product photo. So mostly the e-commerce company hires the industry professional experts to do the photo editing, photo retouching, and cropping works for their product shots. Do you know what is Ghost mannequin photography and editing works?
What is Ghost Mannequin Photography?
Ghost Mannequin or invisible mannequin photography is widely used in the e-commerce industry. The effect allows the photographer to take multiple shots of a product on a model or mannequin, then will remove the model or mannequin and do the post-production works. The resultant photo will show only the product image. Means the ghost mannequin photography focus firmly on your product.
The aim
of an invisible mannequin photoshoot is simple, but the execution can be
time-consuming. Also, these photoshoot requires the best practices to perform
efficiently.
How
to Plan an Invisible Mannequin Photography?
To
create an invisible or ghost mannequin illusion, first, you need to shoot the
product image by worn it on a model or mannequin. Shoot the front and backside
of the image.
If you are using a model for the shoot then, make sure to use the perfect pose which can deliver the product image well. These steps will 100% help for the fashion and clothing industry image photoshoot. If the model is with long hair then tied up the hair. Then, it doesn’t obstruct the clarity of the product image.
Background
settings also are important. Choose the background based on the product color.
Position and lighting are very important to this photoshoot. When you are
planning to take a photo of a top you have to position your camera at chest
level.
How
to Edit a Ghost Mannequin Photo?
Photoshop is magic; also, a well-experienced person can deliver a resultant photo that you expected.
Once
you captured your image photos, you can go for the editing works. There are
some online tools available but you need the basic concepts to do the
workouts.
The editing steps involve the elimination of the model or mannequin and background settings. The steps involve joining the backside of the waist or neck. Have to resize and zoom the images. Remove the unnecessary parts and retouch the photo with cropping and color settings.
If you are editing the pictures professionally. Then, the resultant photo will be the perfect shot of the product. You can use it for commercial purposes to get better customer attention.