Tag Archive : photography ideas

/ photography ideas

Top Dark Food Photography Ideas

February 28, 2022 | Blog | No Comments

TIn the realm of food photography, trends come and go. However, moody and dark photography shows no signs of slowing down. They each have their special way of captivating your audience. So, how do you take gloomy food photos? We have three terrific dark food photography tips to get you started!

Dark Food Photography Tips and Tricks.

Tweaking the light

Some numerous methods and configurations might assist you in creating a somber and dark environment. You can even achieve a melancholy image in a very bright, even sunlight space, but let’s stick to the most frequent and simple option.

To begin, you’ll need a very narrow strip of light to illuminate your main topic, namely your dish. You can accomplish this by blocking the portion of the light that illuminates the rest of the photograph. You can use anything, such as books, drapes, and cushions. Use whatever is available and will remain still. You may also use black and white foam boards to create negative space by blocking or filling it.

Negative fill means that you lay the foam board on the other side of your subject from the light source, preventing any ambient light from hitting the subject and creating wonderful moody shadows. Foam boards may be found almost anywhere. Hobby shops and office supply stores are inexpensive, lightweight, and available in various sizes.
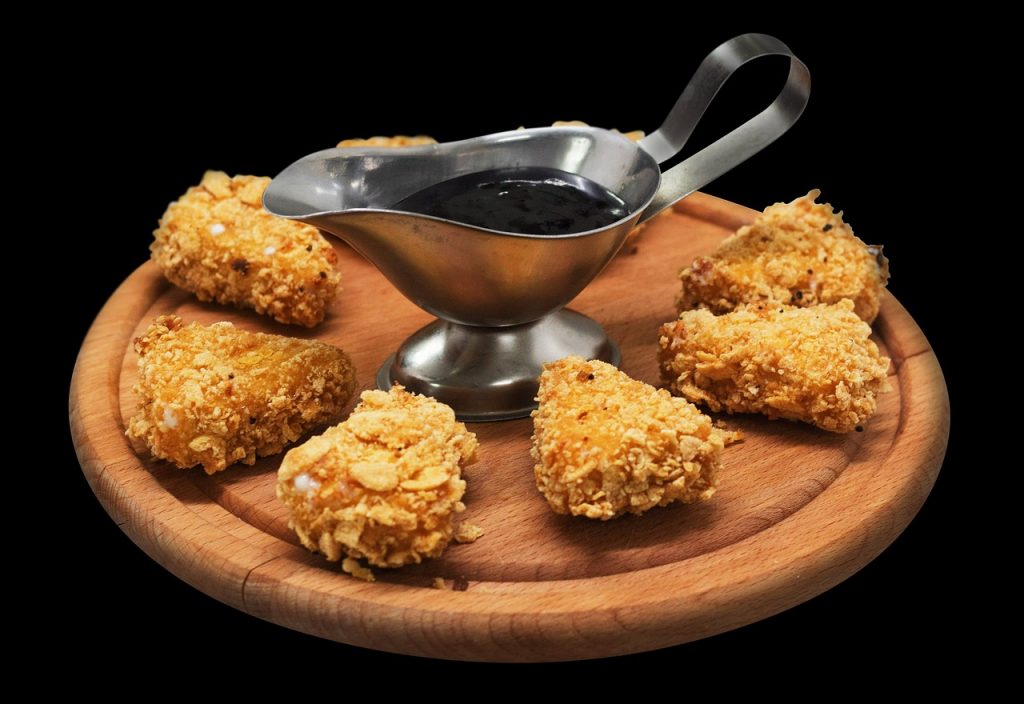
dark food photography

Food Styling

The dark food photography is more commonly seen in editorial work than advertising. Advertising photography is intended to be flawless, with highly styled cuisine. Anyone who has ever seen a fast-food burger commercial and compared it to a real burger understands what I mean.

However, editorial food photography, such as that found in cookbooks and foodie publications, has a more relaxed, candid aesthetic. The meal is frequently absolutely imperfect, with scattered crumbs or tastefully placed streaks and drips, as if it has just been prepared or someone has just started to eat.

This is not to argue that there isn’t any purposeful effort put into the styling. The line between rustic and authentic and simply sloppy is thin. It requires skill to make food styling appear informal and spontaneous.

Select background colours that are muted

Dark food photography ideas are all about using dim and lackluster backdrops. They will stand out and may divert your viewer’s attention. As a dark photography background, everything from slate to speckled cookie sheets can be used. Just make sure that anything you choose isn’t gleaming. Dark blues, dark grey, and black are ideal hues for dark food photography backgrounds. However, you can also experiment with various colors, such as strong espresso tones. Feel free to utilize textured backgrounds.

Placing them in your setting improves the presentation of the dish. Wood is an excellent textured material for both backdrops and props. It’s simple to work with and has a rustic appearance. Items that have corroded, such as an outdated cupboard door, or tabletop, can be used. You may also create a fake picnic table out of 24 planks.

Conclusion

So, there you have it: our top recommendations for capturing dark and moody food photography shots in your camera! If you’ve had a chance to explore with this technique to food photography, we’d love to hear your thoughts.
10 Useful Furniture Photography Tips For Beginners

September 1, 2021 | Blog | No Comments

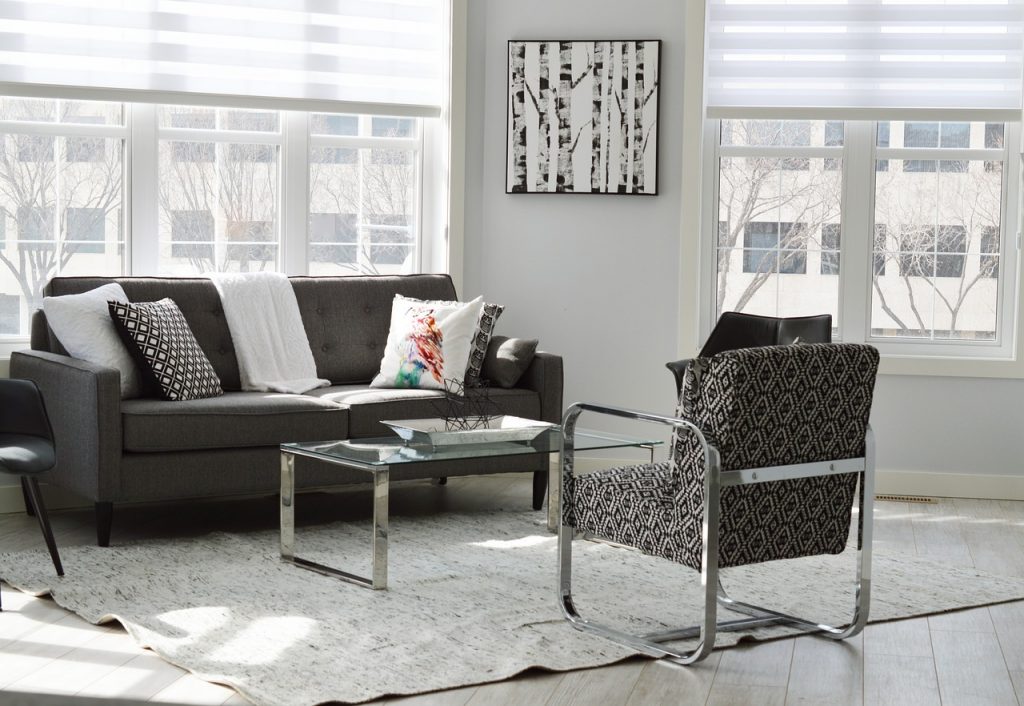
furniture photography tips

To make any piece of furniture look excellent and boost its chances of being sold, you must first ensure that it appears wonderful in photographs. If you are trying to sell your old furniture or even if you are a photographer who wants to break out into this new field, you will need to polish the angles, lighting, and composition of your photographs. Furniture photography tips for beginners.

The type of photographs you take must be tailored to the type of product you are photographing and vice versa. Because ecommerce is primarily dependent on visuals, the image you shoot can make or break a transaction. Despite the fact that photographing furniture appears to be straightforward, there are several variables to consider. In order to assist you in taking photographs that will make any piece of furniture appear like a fantastic addition to a buyer, we have put up a list of tips:

Furniture Photography Tips

Furniture Photography Tips

Tip – 1 Pick the right time

Lighting is everything in photography. You have a great source of light, the colors will look great, pictures will be sharp, and furniture details will be visible to the buyer. If you pick the right time to shoot, half the battle is already won. If you are someone who is looking to sell their furniture to avoid waste, you would not even need over-the-top photography equipment just by taking the pictures at a time when there’s plenty of light.

Tip – 2 Natural light over artificial

You will always get the best quality pictures with natural light. This is why you should try to pick a spot for photography that has plenty of natural light. In the case of furniture photography, your best option can be next to a big window so that your subject is well lit. While keeping in mind the importance of good lighting, you also have to know that too much lighting can also reduce the quality of pictures. Maintaining a balance is essential.

Tip – 3 Tidy it up

Whichever piece of furniture you are photographing, you have to make sure it looks its best already. It should be clean, free of scratches, chipped paint, etc. Consider wiping the furniture before you start shooting, taking time to fix any minor issues and make it look its best for the picture.

Tip – 4 Simple composition for the win

Pay attention to your framing and composition. The important question to ask yourself is if the picture looks too cluttered and if the furniture is the Centre of attention. If not, you can take a few things out of the frame and readjust a few elements to make sure you’re happy with the composition.

Tip – 5 Take multiple shots

Even if you are satisfied with the first few shots, you should consider taking a couple of pictures more to ensure that you have enough options to choose from later on. It is always better to end up with way too many images than to have not enough pictures. If you get a chance, try taking photos of the same thing from different angles, in other house locations, with a few adjustments in the framing and composition, etc.

Tip – 6 Use a tripod

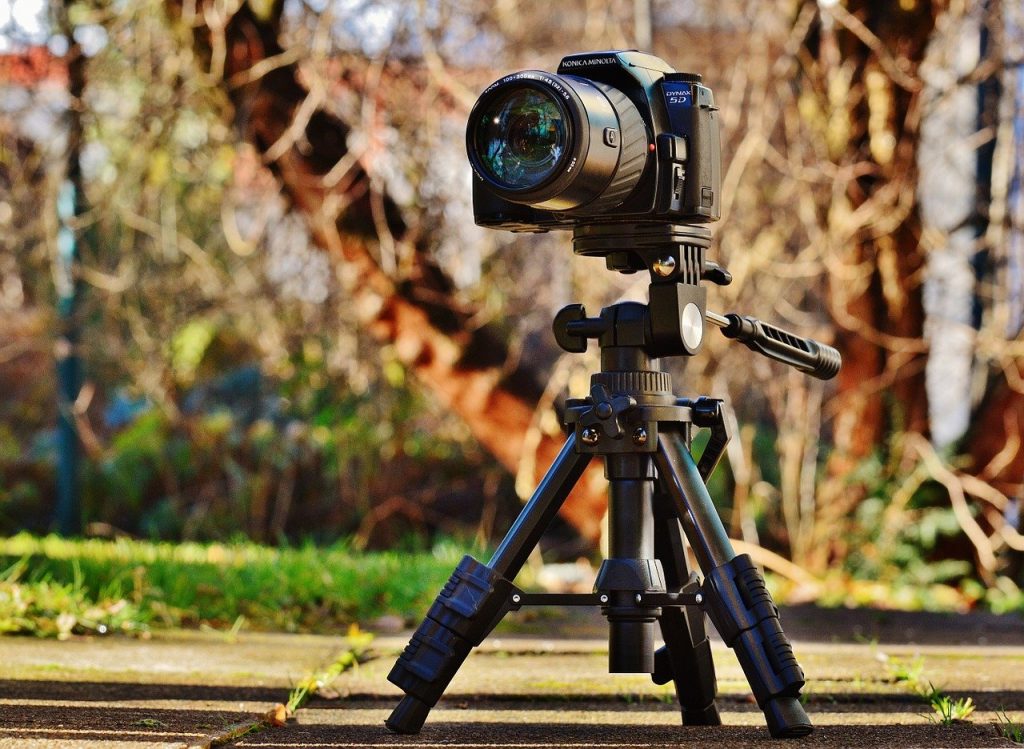
tripod

To get the most stable pictures of your subjects, consider using a tripod. This will help make sure that your photos are not disturbed by unnecessary movements or a shaky grip. Even if you are shooting with your smartphone, consider getting a tripod for more stable and crisp pictures. This way, you can take stable pictures even from compromised angles.

Tip – 7 Choose the right equipment

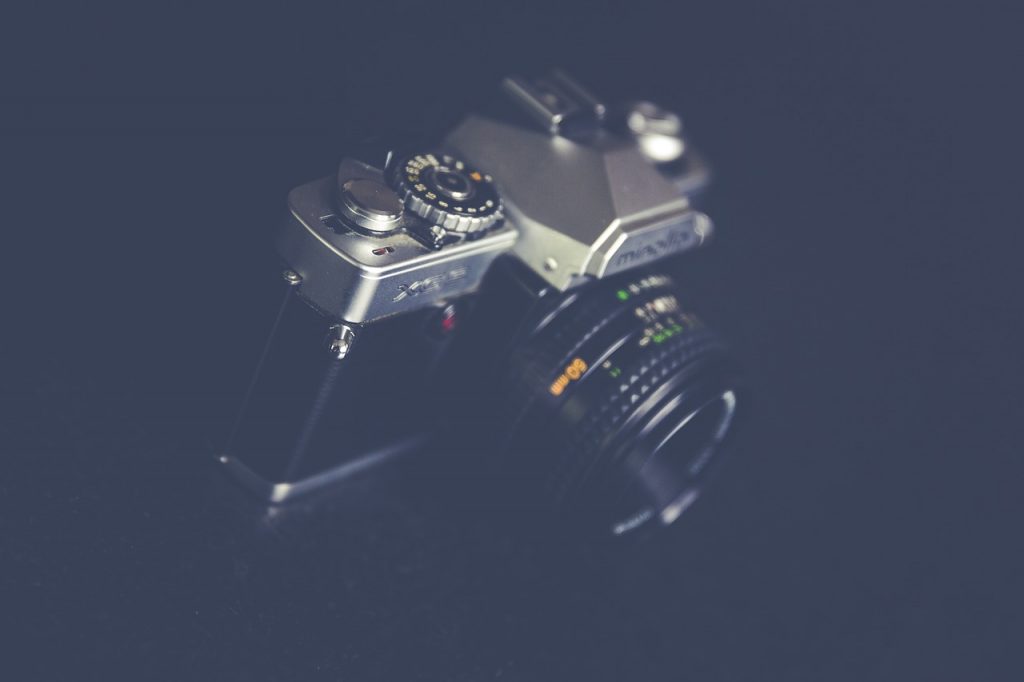
If you are using a camera, you should look into what lenses you have available and which ones will be optimal for taking pictures of furniture. Mainly for this kind of photography, you should strictly avoid a wide-angle lens and macro lens. The most optimal choice for photographing furniture would be a zoom lens (24mm – 70mm). It will give you enough scope to be able to photograph your furniture with comfort.

Tip – 8 Keep it simple

Keep your pictures simple so that the piece of furniture can speak and be the center of attention. It might sound fun to style the furniture the way you want and photograph it, but many times too much styling can be counterproductive. A good trick for this is to ask yourself, “will the picture look good without it?” when you add something extra. It will help you realize what’s necessary and what isn’t.

Tip – 9 Edit

Shooting is only half of the job; the other half is completed during the editing process. When people hear the word editing, they immediately think of drastic alterations to a photograph that result in a photograph that is completely different from the one that was originally captured. In reality, however, this is not the case because editing is a skill that goes hand in hand with shooting. By altering the brightness, adjusting the exposure, and correcting the colors in your photographs, editing can help you polish and enhance the images you take. It is also the moment at which you can let your personal flair to shine through in the photograph.

Tip – 10 Click, edit, repeat

Your photography skills will improve as you gain more experience taking pictures and editing your photographs. You can read all you want about photography and watch films with demonstrations, but none of it will be useful unless you get your hands filthy and start shooting. With practice, you will become familiar with your equipment and how to use it to its full potential to capture the perfect shot. Taking images on a regular basis will also assist you in determining the ideal angles for furniture, the greatest composition, your personal style, and so on.

Conclusion

Here are some Furniture photography tips. To make any advice work, you must follow them exactly each time you take a picture. The habit of shooting without regard for this rule develops over time, therefore it’s important to start with awareness. So, grab your camera, an old piece of furniture, and get to work!

photography ideas

Have you ever wished you knew how to take photographs that are both stunning and professional in appearance? Every professional-looking photograph is the result of years of expertise, extensive experience, and high-end photography equipment. However, you do not have to go that far in order to capture your own amazing photographs. Check out here for creative photography hacks.

Instead, you need to turn on your creative mode, and your basic photography gears will turn out to be as apt as any high-end equipment would be. 

Here are 10 creative photography tips and hacks that will surprise you with the results. 

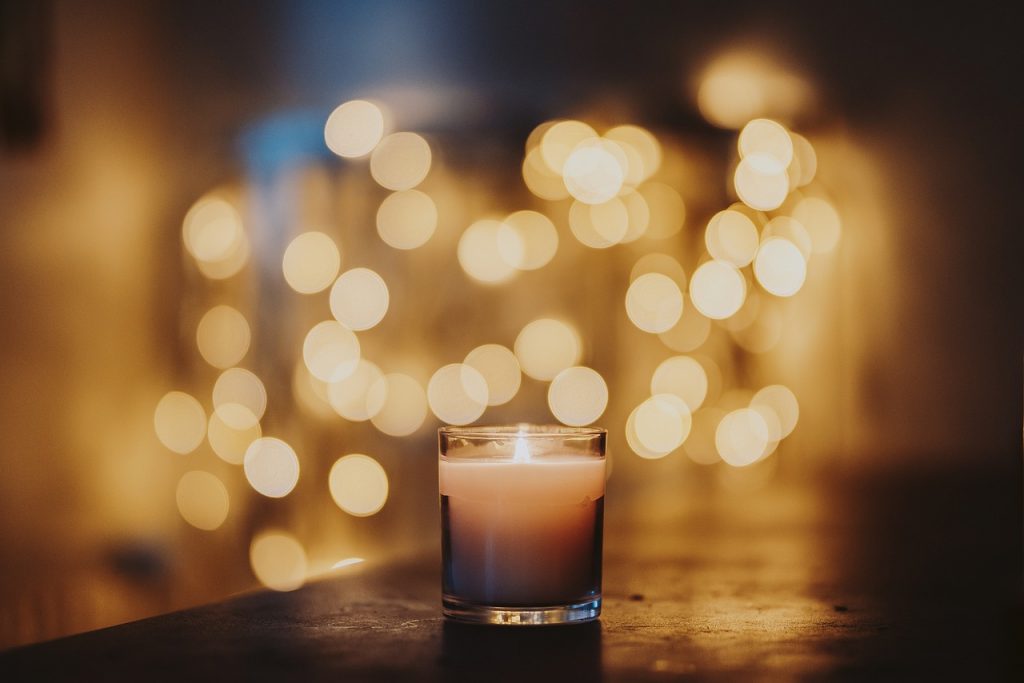
1. Fake Bokeh with a tin foil

Creating bokeh photographs is certainly about having a fast camera, skills, and few camera settings. But if you are not a professional photographer, you can use tin foil to create a bokeh background. 

fake Bokeh with a tin foil

Crumble the tin foil, and use it as a background for your subject. You can experiment with the results by changing or moving the light over the tin foil. 

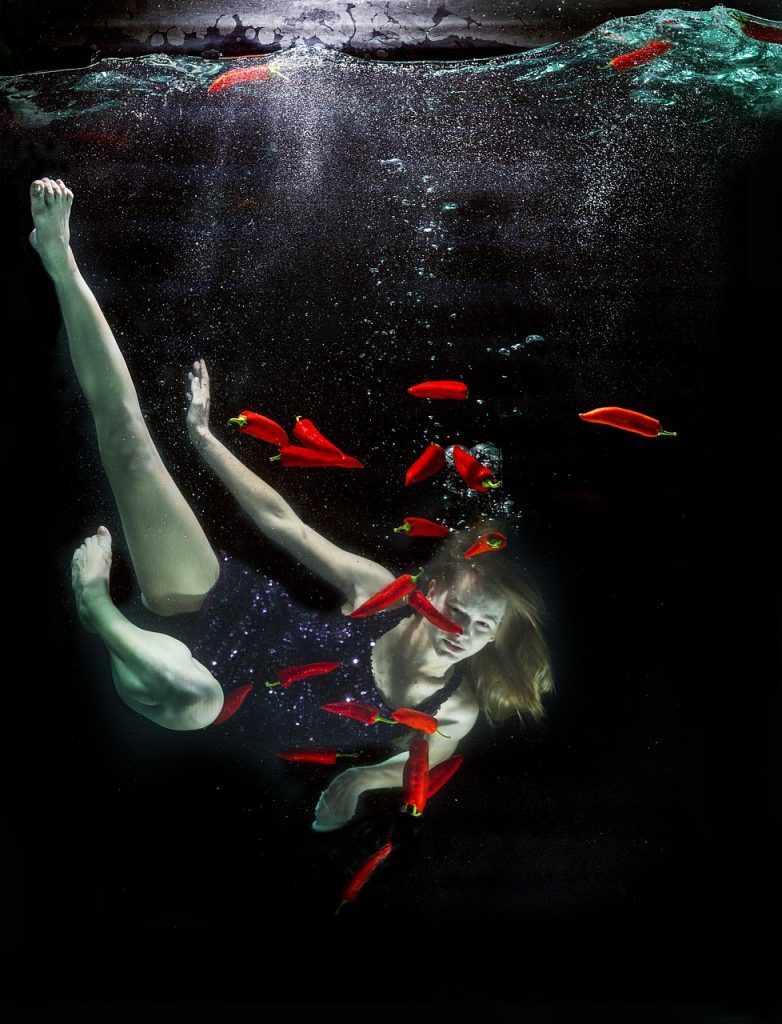
2. Underwater photo using a fish tank

Underwater photography is often backed by an expensive budget. Usually, this type of photography involves scuba-diving and a waterproof digital camera. But if you don’t own one or underwater photography is not a practice you often do, you can use a fish tank for shots.

Underwater photo using a fish tank

You can put the camera on the tank to avoid it from getting wet. Also, remember that the regular camera settings will not work. Try to avoid the flash. 

3. Soft focus with a Pantyhose

Soft focus is a popular aesthetic in modern times, and early Hollywood films used this concept of photography for female actresses. While the soft-focus effect uses the imperfection of lens optics, you can use a pantyhose to create a near-perfect soft-focus shot.

Soft focus with a Pantyhose

Use the pantyhose over your lens, and fix it using rubber bands. But remember that different colors of pantyhose will bring different results.

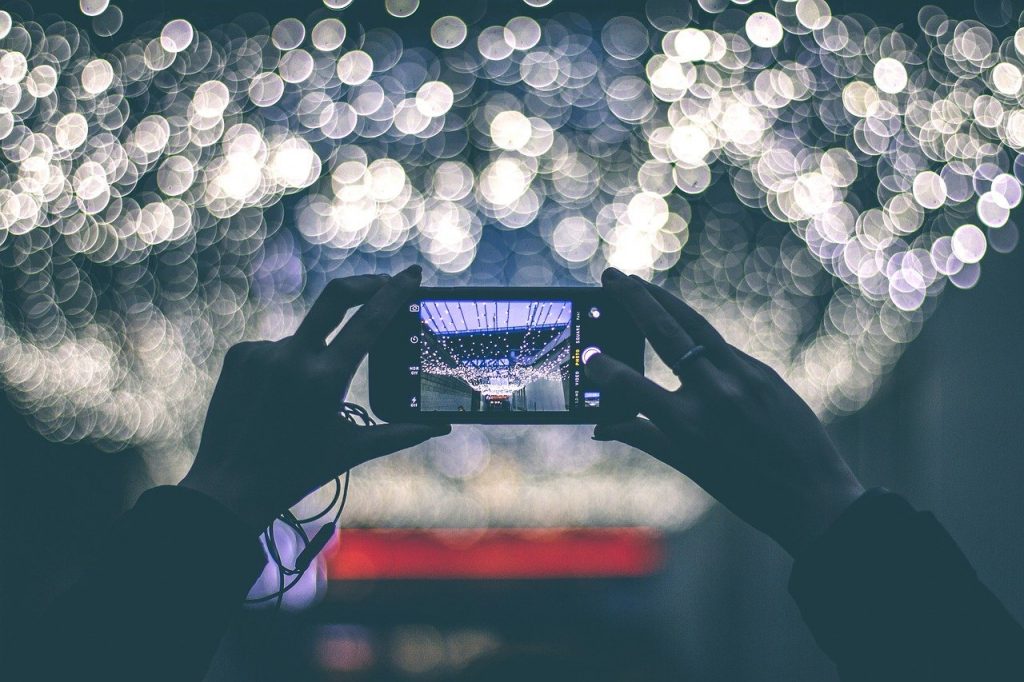
4. Instant bokeh with your laptop

bokeh with laptop

This might not be the most realistic looking photograph, but you can still try out your skills and creativity for fun. Open a bokeh image on your laptop, and use it as background. You might want to place a flat surface over the keyboard if you are planning to click the full length of the object. 

5. Overhead shot with DIY holder.

photography hacks

Overhead shots will require many pieces of equipment, but you can make your own top-down camera holder. Use cardboard to fold in a little shelf, ensuring it makes a semi-square shape with wings on both sides. You hold the wings with cello tapes to hold to the ceiling and put your mobile on the shelf with the desired timer. 

6. Rainy day photography with a spray

Rainy day photography with a spray

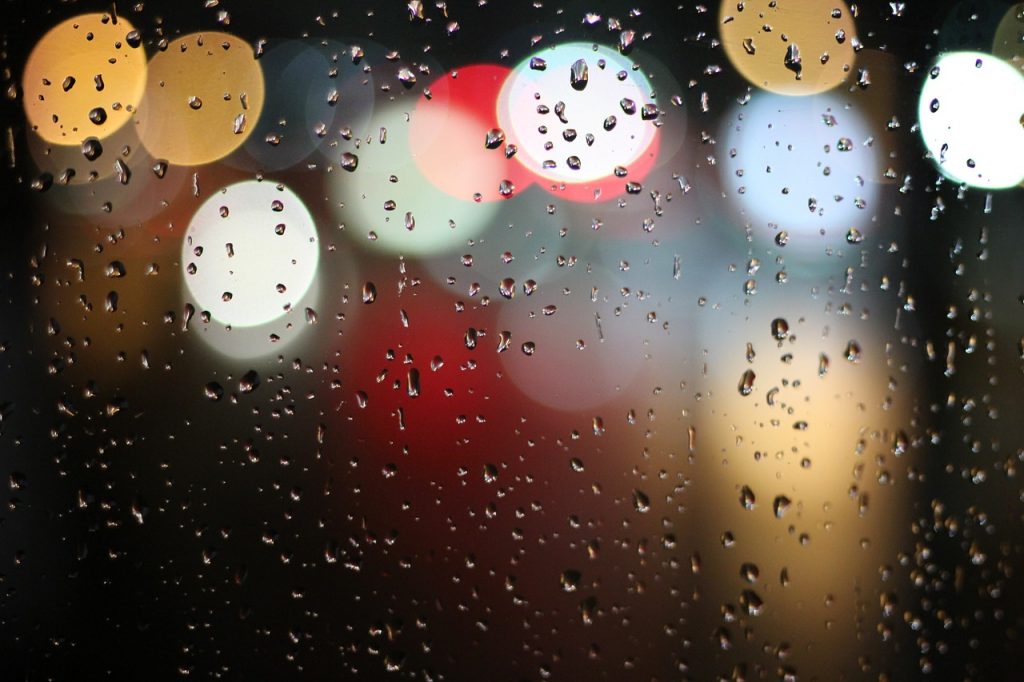
If you want fresh looking rainy day photos but are not sure whether it will rain any day soon, you can always create fake rain. You can create a shot through a window where raindrops are resting. This type of photography often uses a glass surface with raindrops, and the subject is behind the glass surface. You can use spray water on the glass surface for effect.

7. Cucoloris photography

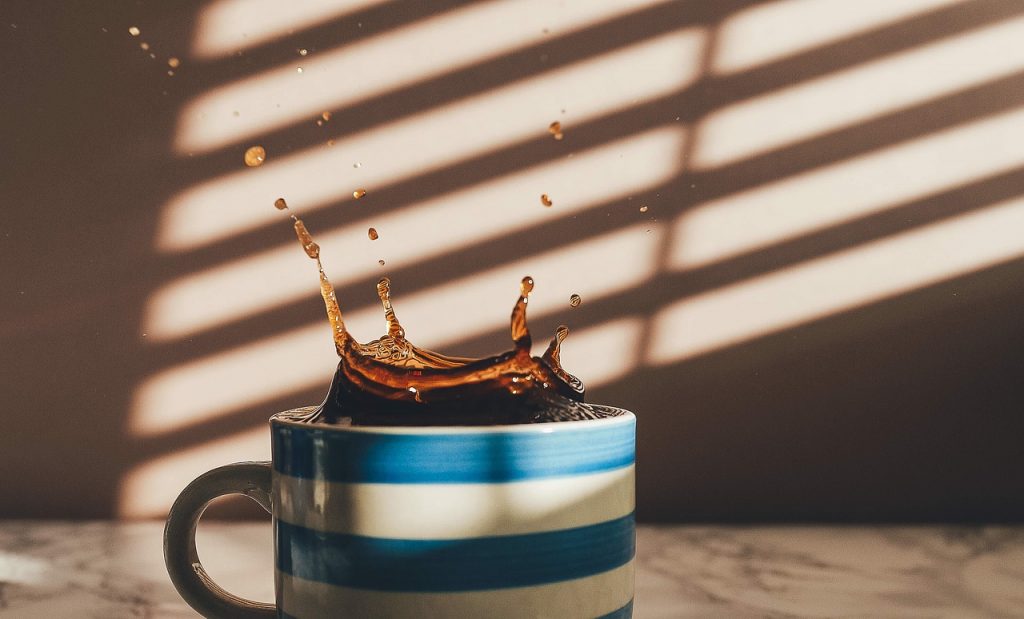
If you want some economic cucoloris photography effects, you can use cardboard and a knife to cut them into different shapes. If you want to create a window shadow backdrop, you will need to cut your cardboard with a window shape. Position this shape in front of the camera lighting, and let it cast shadows on the subject.

8. Photo filters with transparent colored films

Surely, you can edit your photos after being clicked with an unlimited number of filters, but there’s nothing like using filters to click your photos. You can use different colored plastic bags or transparent films to place them in front of the lens to get colored filters.

You can always experiment with two different colors at the same time on both sides.

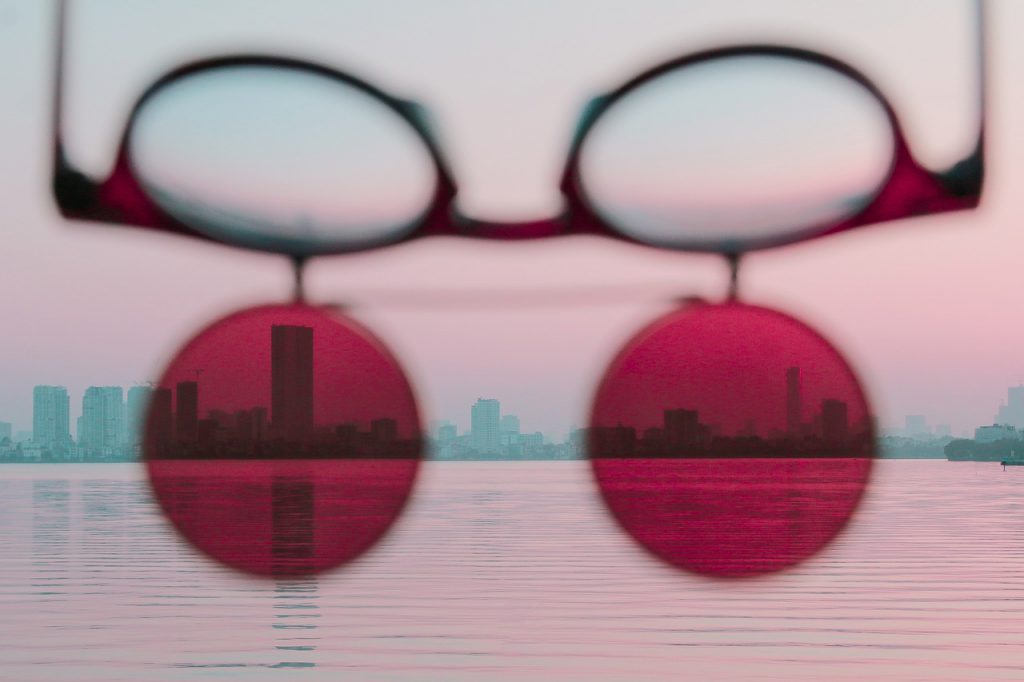
9. Photo filter with sunglasses

One of the great and convenient ways to add filters to your photos is to use your sunglasses. Sunglasses always have a surface that changes the color of the scene.

No matter what camera you have, either professional or mobile, you can use sunglasses in front as you click a picture. 

10. Add lens flare with a torch.

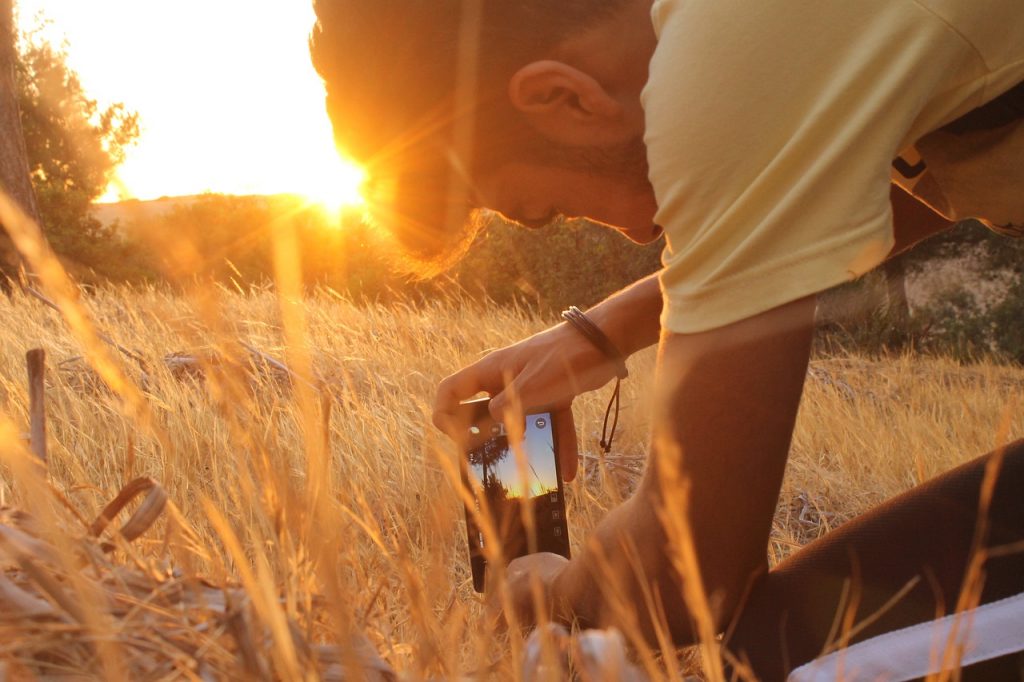
Including a lens flare in your photograph enhances the realistic appearance of the image. When taking photographs outside, it is common to see a lens flare appear in your photographs as the sunsets. Using a torchlight to create artificial light can help you achieve a lens flare indoors if you are trying to photograph in low light.

Natural lens flare requires the manipulation of the subject; whereas an artificial light source is more convenient because it allows for the manipulation of the light source (and thus the subject).

Conclusion: 

Let’s see which of these photography hacks seems doable for you. Do let us know if you want more creative ideas for photography like them. 

Product Photography Tips

June 28, 2021 | Blog | No Comments

best product photography tips

Many people think that still life or product photography is not as indulging as photographing live subjects. But product photographers say otherwise. In product photography, you can play around and push your creativity to a new level limit. Here are some product photography tips for capturing stunning shots.

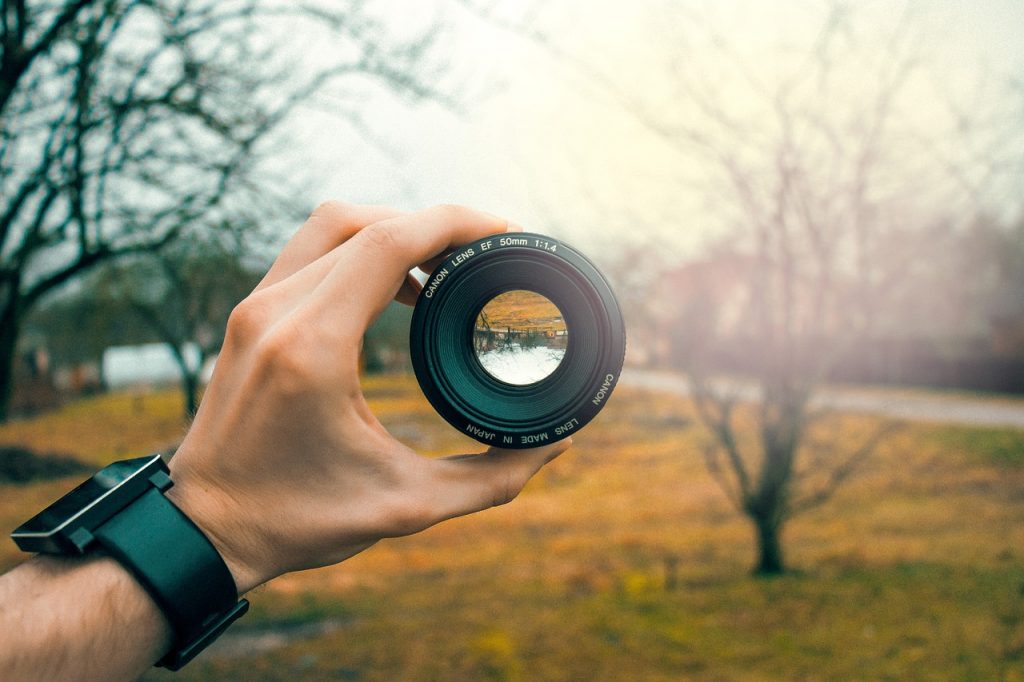
1. Use the Right Lens

The use of a wide-angle lens affects the object’s proportions, making your product look distorted, and no one wants that. The main focus is on the product you need to capture and represent it beautifully to please your client perfectly. It is suggested to use standard or regular lenses that work closest in comparison to the human eye.

2. Angle and Aperture

Angle and Aperture

The widest aperture or lowest f-stop makes sure that the object is in the middle, making it the center of attraction. Ensure that the background and everything around it is blended smoothly. If you are using a model, remember that the audience’s attention should be on the product at hand and not the secondary object. Try to use an aperture that is large enough to capture every minute detail of the product perfectly.

3. Lighting Techniques

In photography, especially of products, lighting is the most crucial factor. According to the intention of the shoot, the lighting parameters will change. Remember to aim two lights at the backdrop on either side of the products. This technique will help highlight the product from the wall. Then use one light in the front and one slightly above the product. This angle will eliminate any shadows formed and will make sure the product is perfectly lit.

4. Know how to Sell the Product

The key to selling any product is to sell the idea of the product to the customer. Whether purchasing this product makes your life more convenient, using a specific interest or a particular lifestyle. The shot of the product should tell the story of why you need it in your life. – One of the perfect product photography tips.

5. Experiment

Play around with different styles and put your creativity to the taste because your subject will not object to it. You can play with reflections as well. But pay close attention to how your lights, angle, and you reflect in the product. To remove any reflection, you can either move your tip or retouch it later.

6. Color Theory

Ensure that you have a high level of knowledge about using different colors to enhance an image. Color theory is vital to understanding how different colors affect humans’ thinking processes, emotions, etc. The proper selection of color shades will help you a lot in marketing the product.

Make full use of the four well-known color combinations, Complimentary, Triadic, Analogous, and Split Complementary. Ensure you have the perfect lighting. After the shoot, you can always play around and adjust the colors in the frame to suit your requirement.

Conclusion

There are no hard and fast rules to abide by to take photographs. According to your needs, use these tips to enhance your skills. Remember you do not need any fancy course or expensive equipment to take photos. All you need is some inspiration, a little knowledge of the field, and creativity. Please comment below your suggestions for product photography tips.

You can reach shootpro24 for perfect photo editing and video editing works for your projects.