Category: Blog

Home / Category: Blog

Channel Masking Photo Editing Services

January 17, 2022 | Blog | No Comments

channel masking

Some photos resist even the deftest use of the Pen tool, the most delicate constriction of a layer mask, and the most subtle use of adjustment layers. Check out here for channel masking photo editing services.

You’ve seen the images, those windy pictures, the flower arrangement with the seemingly limitless number of intricate edges, or the full bloom branches. We need a different approach for such images, a channel mask.

How to Use Channel Masks in Photoshop 

Method 1: HSB/HSL Channel Masking

Step 1: Duplicate the layer for which you want to construct a mask.

Step 2: Navigate to Filter >> Other >> HSB/HSL..

Step 3: Navigate to the Channels tab. If you can’t find it, navigate to Windows >> Channels. There you have your three layers. The Hue layer is red. The Saturation layer is green, and the Brightness/Lightness layer is blue.

Step 4: Click on the ‘Green’ layer while holding down the Ctrl key. This will choose the saturated colours in your image in varying degrees.

Step 5: Delete the layer you applied the HSB/HSL filter.

Step 6: Click on the mask icon and then on the layer you want to apply the mask. Press Ctrl I to acquire the inverse mask if you need to invert the mask for different effects.
clipping path editing services

Method 2: RGB Channel Masking

Step 1: Launch Photoshop and open the image. Channels should be available in any version of Photoshop that supports layers.

Step 2: Select the Channels tab. If you can’t find it, navigate to Windows >> Channels. The channels are all RGB. All of the photos are made up of varied red, green, and blue shades.

Step 3: To determine which channel has the biggest contrast, click on each one. That is usually the blue channel. However, it truly depends on the colours in the image.

Step 4: Drag the channel you want to add to the channels window to the + sign at the bottom. This will duplicate the channels. You make a copy since changing the virtual channel will cause your image to shift in unanticipated ways.

Step 5: Ctrl L after clicking on the channel’s copy. This opens the Levels dialogue box.

Step 6: Drag the two sliders at the end to increase the contrast.

Step 7: Hold down Ctrl while clicking on the layer you just altered. This will generate a selection from which a mask can be made.

Step 8: Hold down Alt and click on the Mask icon, then click on the layer to which you wish to apply the mask. This will result in the creation of an inverted mask of the selection. In the Channels tab, you can also invert the channel.

Step 9: Remove the mask elements that you don’t want. If sections of the mask reveal parts of the image that you don’t want to see, use the brush to paint Black on the areas you want to hide.

Step 10: To view your mask’s appearance, press Alt and click on it.

Step 11: Change the Mode to ‘Overlay’ by pressing B for Brush.

Step 12: Choose White as your foreground colour and paint the image to clean up your mask.

Step 13: Choose Black as the foreground colour and paint it over the image where you want it to be black.

Step 14: Employ your effect.

We hope you can successfully edit those fine details and bring the best out of your snapshots with the given two methods.

Also check here:

Best photo retouching service providers in illinois.

Clipping path and where it is used?
5 Sister Photoshoot Ideas

January 10, 2022 | Blog | No Comments

sister photoshoot ideas

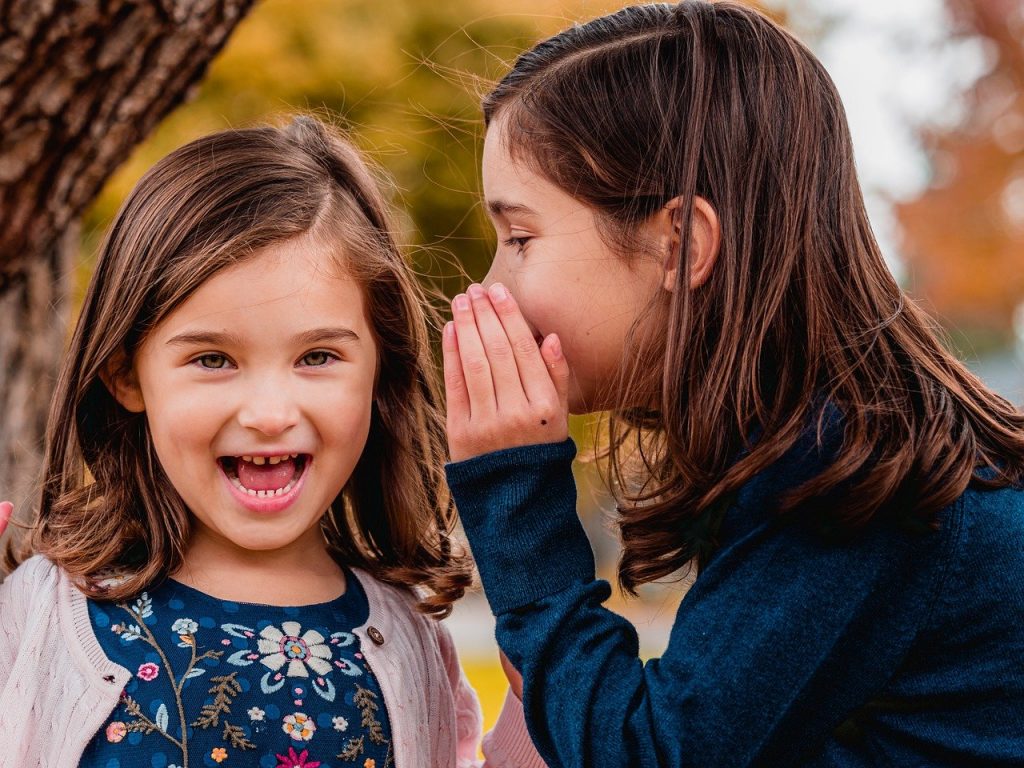
Sisters have a unique kind of bond, they are the best critiques, the most supportive shoulders to cry on, the secret team in all kinds of childhood misdeeds, and the one who will offer advice without asking for anything in return and who will understand you even if you don’t say a word. Check out in this blog about the best sister photoshoot ideas.

Sisters are a rare breed of human beings. That is why you should take time to celebrate them and capture as many frames worthy shots as you can.

The following are some ideas you can use-

Top 5 Sister photoshoot ideas

1. Twin with your sister

twin with sister ideas

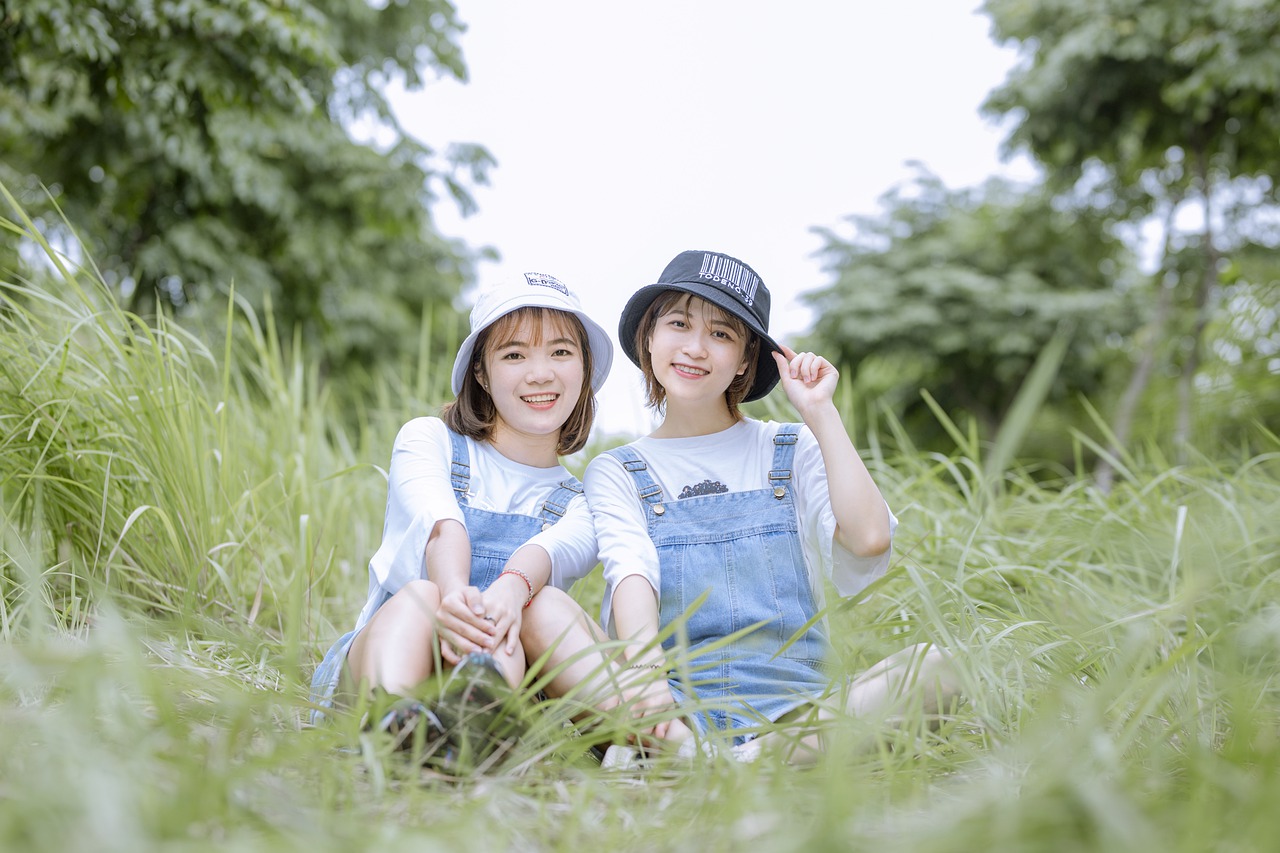
Family picture shoots almost always include a dress code. Things get a lot more exciting if there is a common subject. We can all agree that costume is a must-have for any sister photoshoot, no matter how young or old you are. Better if the clothes match. This is both amusing and a natural expression of the sisters’ affection for each other. When the sisters wear identical costumes, they become the centre of attention and steal the event.

2. Run!

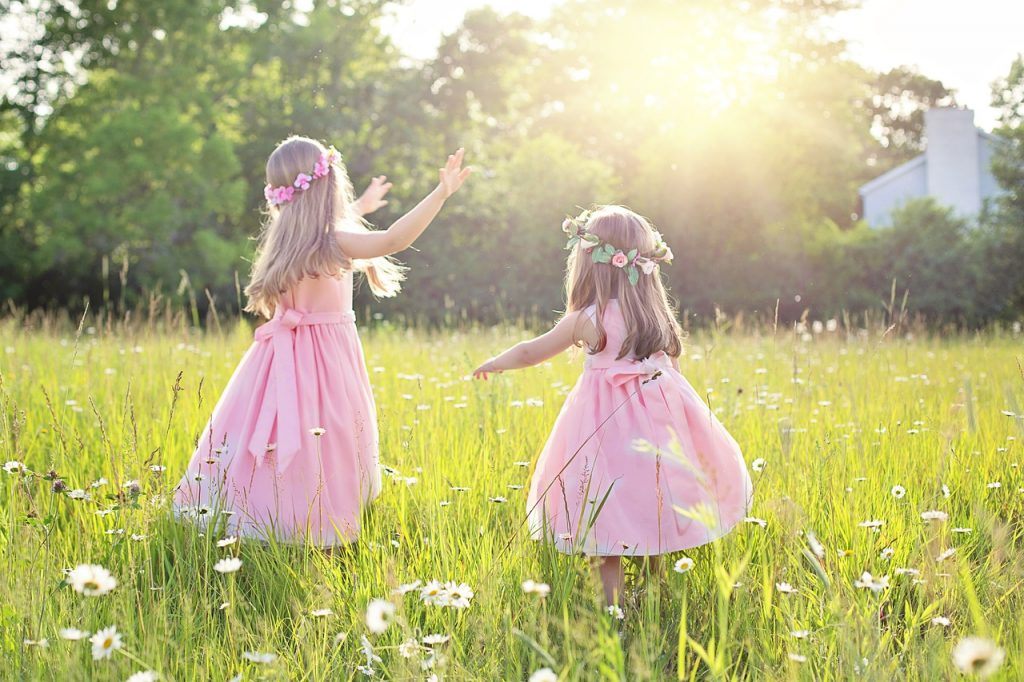
Yes, you read that correctly. Hold hands and run while someone captured that moment. This picture taken in the countryside with flowers around would increase its beauty by ten times. Wear flowy dresses, preferably pastel or bright colors that stand out. Let your hair down if you have long hair, hold your sister’s hands and run.

3. Let out your crazy side

Put on a crazy expression and strike silly poses. Wear your casual outfits and act like you normally do with your sister, tease her or laugh with her. Do some crazy dancing maybe, or, just stick your tongue out.

Make sure you’re shooting these in your bedroom to have a real moment captured between you and your sister.

bubbly click with sister

4. Get bubbly

Have you ever seen a picture turn out looking bad because of bubbles? We haven’t either. Bubbles have a way of enhancing the visual appeal of a photograph. Infusing everyone with a true sense of happiness, the bubbles’ beautiful spectacle captivates everyone. If you really want to spice things up, blow bubbles into each other’s faces and have a good time while doing it.

5. Piggyback her

Piggyback rides are one of the most universal and age-appropriate sisters photo ideas. In addition, it’s a fun posture for a family portrait that always comes out looking wonderful. We can’t help but smile and reminisce these images in the album. In the same way that you can play with any other photography idea, this one is no exception.

Conclusion

We hope you like these sister photoshoot ideas. After the sisters’ session is finished, you can improve your images with numerous effects. It’s an excellent pick for anyone interested in editing portraits or nature pictures. Your images will have a pleasing matte appearance that will capture the attention of onlookers.

Top 10 Winter Photoshoot Ideas

January 9, 2022 | Blog | No Comments

best winter photoshoot ideas

It’s that time of the year again when the world is busy decorating Christmas trees, the city is lit, roads are covered in snow, Christmas jingles can be heard everywhere. A season like this definitely calls for a photoshoot. So, pull out all your classic sweaters, even the ones you hated wearing! Because you never know that may be the outfit you exactly needed. Check out here top winter photoshoot ideas.

Winter Photoshoot Ideas

1. Romanticize your winter

Get out of your house. We know it’s winter, and that’s exactly why you need to step out with your favourite dark coloured coats on so that it contrasts perfectly with the white snow outside and makes you stand out.

Find a spot that’s covered in snow. If you find one with lots of snow-covered trees – bingo! Stand right in the middle of the frame and strike a candid pose. Make sure the camera is capturing a lot of background, with you in it looking like a scene from Twilight.

2. Fancy night shoot

Find a spot with no lights around during the night or evening. Snow covered is a must. Carrying a lantern with you or fairy lights will also do.

winter night photoshoot

Put on a flowy dress layering it with sweaters like you’re a Disney princess except for the fact that you feel cold. If you’ve got the lantern, hold your lantern up with one hand and click a picture while looking into it. If you’ve got the fairy lights, wrap them around you and pose with the dress.

3. Use the street decors

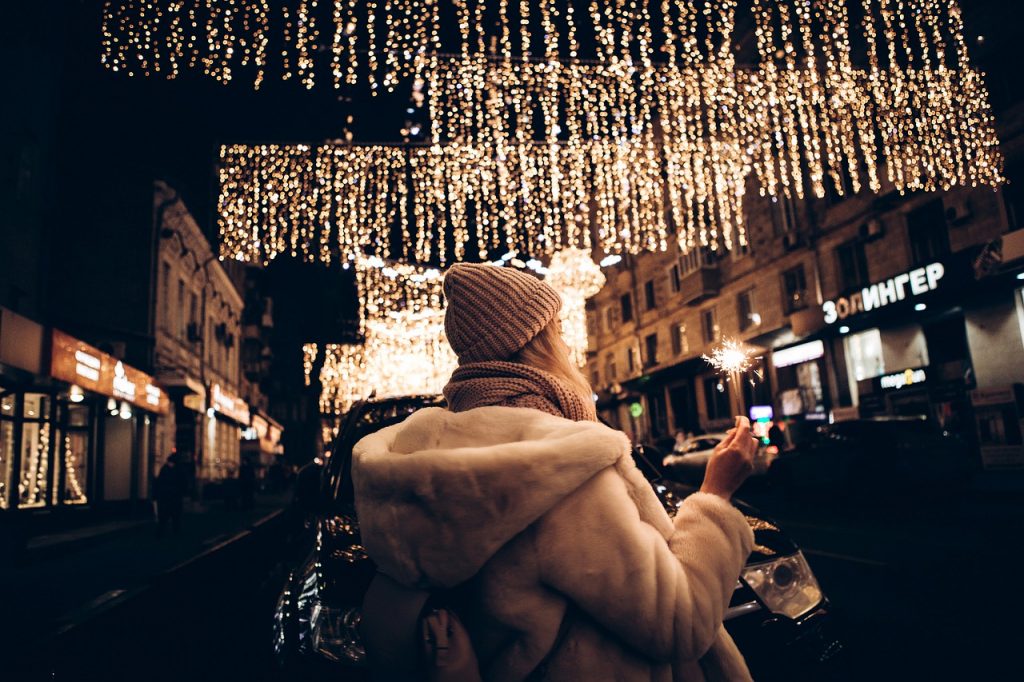
Go out for Christmas shopping, but not to shop rather click pictures. Stand next to the giant Christmas trees or under the colourful streetlights. Put on a Christmas themed headband or hold onto some balloons and smile!

That’s it. You’ll have a perfect feels-like-Christmas picture.

4. Indoor candid

Make use of the time you do your home decorations. Put on your favourite pyjamas, pair them up with a comfy hoodie or sweater. Pick up some of the decors and sit or stand next to your decorated corner.

Now you have something to prove to everybody that you did all the decorations.

5. Go ice skating

stating photoshoot ideas

This is an excuse for you to go ice skating with your best mates and click some candid ice-skating shots of yourself. If you can’t skate, no worries, all you have to do is put on your skating gear and pretend.

You can click candids of yourself putting on the gears or just go in the rink with a friend who can skate and shoot a “winter outing with friends” kind of picture.

6. One with the snowman

It’s winter, there’s snow and you did not make a snowman? Unacceptable. Go out, make a snowman, and have someone click pictures of you while you are in the process. Laugh a little bit, strike a few poses, pose with the snowman too. And your gallery is winter-ready.

7. Let the snow fall

For this one, you have to be ready for the perfect timing. Just when it begins to snow, step outside with a nude coloured outfit on. Although you can wear anything you want, nude colours contrast with snowy surroundings.

Look up at falling snow and let it fall on you. You’re going to look like you’re in a Hollywood music video, and that’s exactly what we want here. So go for it.

8. Use the trees

Go back to the same snow-covered trees location and this time, let your camera capture you through the gaps between the leaves and branches of the trees.

Make sure you’re in focus while the edges of the frame are covered in those leaves and branches making a natural frame for you.

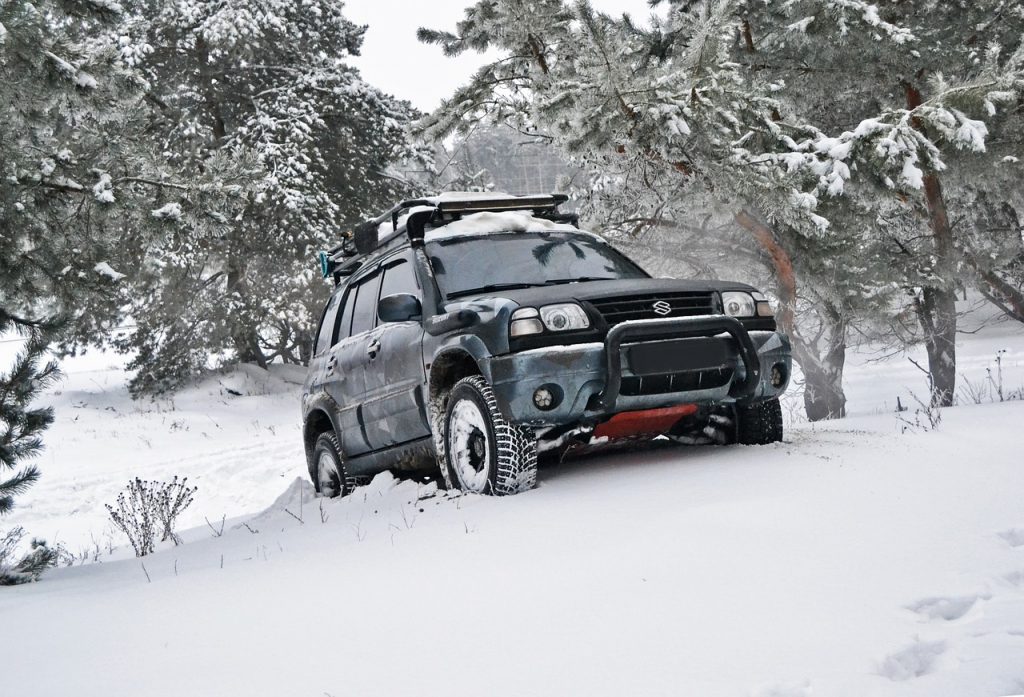
9. Car photoshoot

winter car photoshoot

For any winter picture shoot, you can’t go wrong with a car as a prop. Take a road trip to a snowy location and have fun taking pictures from the window of your car! It has a cosy, wintry feel to it. Don’t mind peeping through your car window. It always works out!

10. Show off your gifts

After all the winter fun, the final showdown has to be the gifts. Open your Christmas gift in your pretty Christmas outfit and surround yourself with them while sitting in front of the fireplace.

That’s it. That’s the picture. Capture the moment.

Find out your best photo editing service provider here .

Maternity Photoshoot Ideas

January 4, 2022 | Blog | No Comments

pregnancy photoshoot ideas

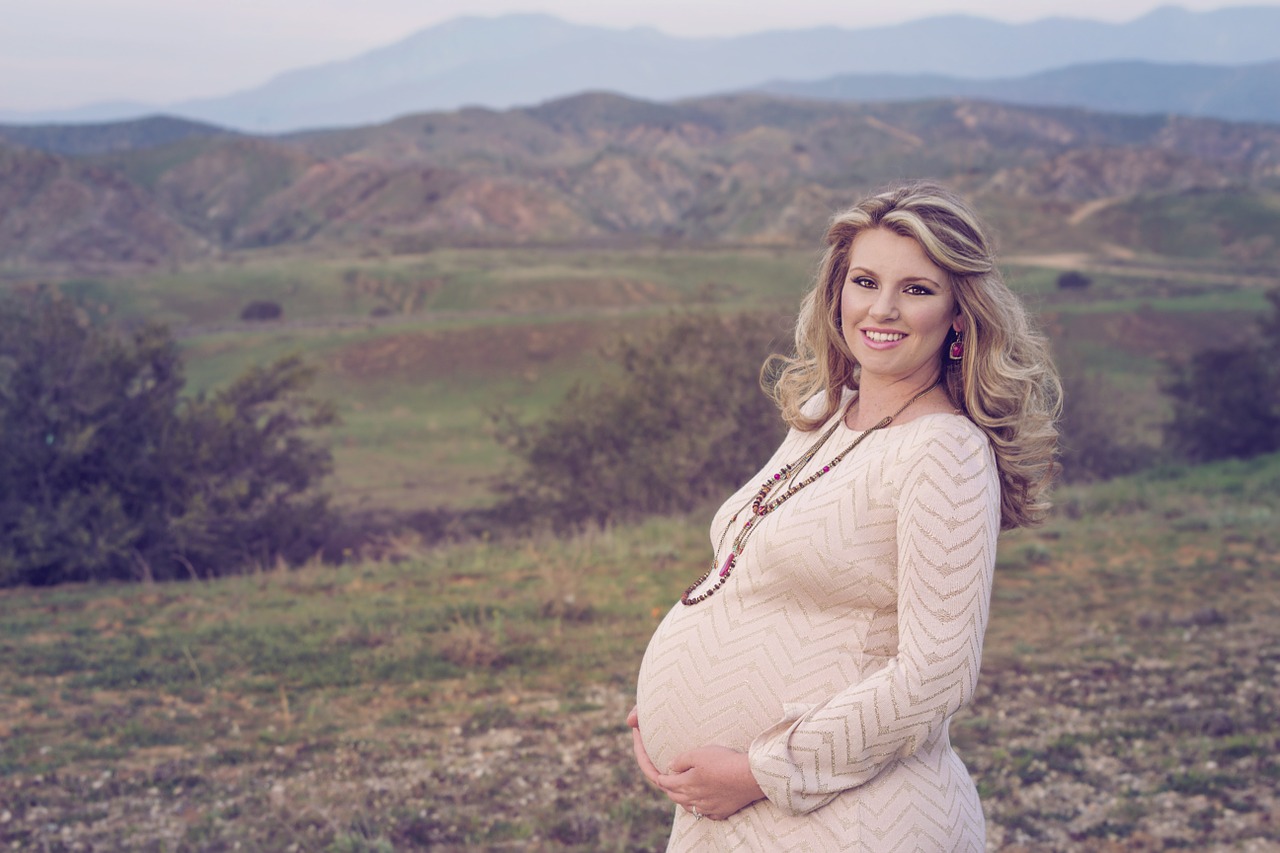
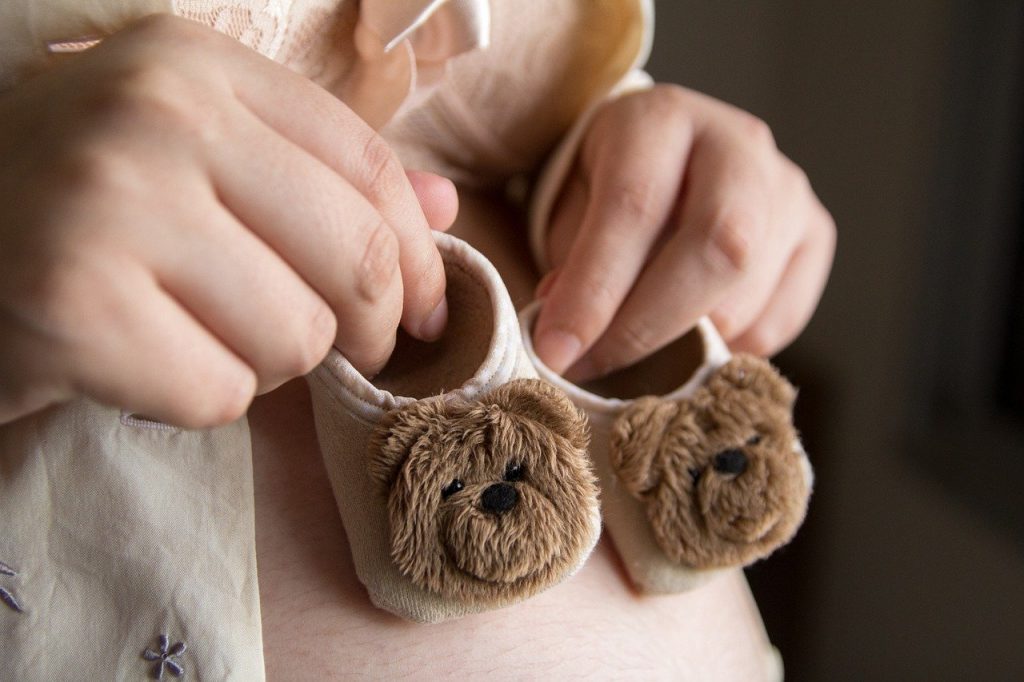
When you’re pregnant, your life undergoes an incredible transformation. After all, you’re preparing to welcome a new member of your family into the world! In honor of this momentous occasion, what is the greatest way to remember it? You’ll have something to look back in the coming years if you have a maternity photoshoot. A mother can relive her most memorable moments with her child in the future. Check out here for some maternity photoshoot ideas.

What is the Ideal Time for having a Maternity Photoshoot?

 You should plan a maternity photoshoot around 28 and 32 weeks of pregnancy so that you can flaunt your baby bump in the best possible way. For one thing, you can cross it off your list before you are too uncomfortable for a photo shoot. 

photoshoot ideas

How can a maternity photoshoot be unique?

Photoshoots can be in two ways- indoors and outdoors. Given below are some unique maternity photoshoot ideas that can be done outdoors and indoors.

Indoor Photoshoots

In the comfort of your own home, it’s simple to create the right location for a photo shoot. You don’t have to stress about the weather, travel, or bringing along any props for your photo shoot. 

1. Take the opportunity to flaunt your silhouette

Pregnant women can take their silhouettes’ black and white pregnancy images to celebrate their wonderful bodies. Accept the changes that have occurred to your body most aesthetically and naturally. 

2. Embrace your natural state of being

Several tasteful methods exist for praising the attractiveness of a naked person’s physique. A georgette tunic and a well-placed arm can make a big difference. For a more artistic feel, print grayscale maternity photos.

3. Use the baby’s room as a prop

You have put into your baby’s room labour of love! For your indoor maternity photoshoot, why not take full advantage of the picture-perfect setting?

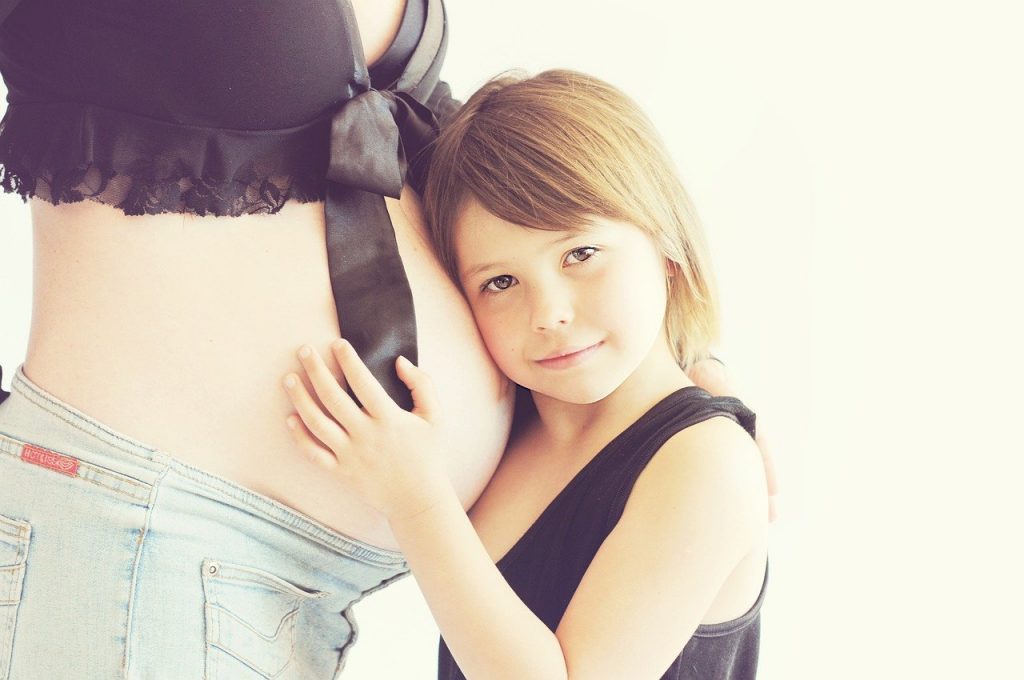
4. Include older siblings

pregnancy photoshoot with sibling

It’s not complete without noting the importance of getting your older children in front of the lens for maternity photos. Because we’re sure you’re not alone in eagerly awaiting the arrival of the new baby! 

Outdoor Photoshoots

1. Find a scenic spot

Searching for a great place to have your maternity photos taken outside? Look out for broad fields near your house since tall and thick grasses make for a beautiful backdrop. If your outfit aligns with the season’s colours, you’ll get an extra point.

2. Withstand the weather

Pregnancy is like bad weather at times, but there is a rainbow at the end of the storm. It’s understandable if you’re a little bummed out when it rains during your pregnancy photoshoot. However, this stunning maternity portrait should serve as a reminder that bad weather may lead to some truly beautiful images. 

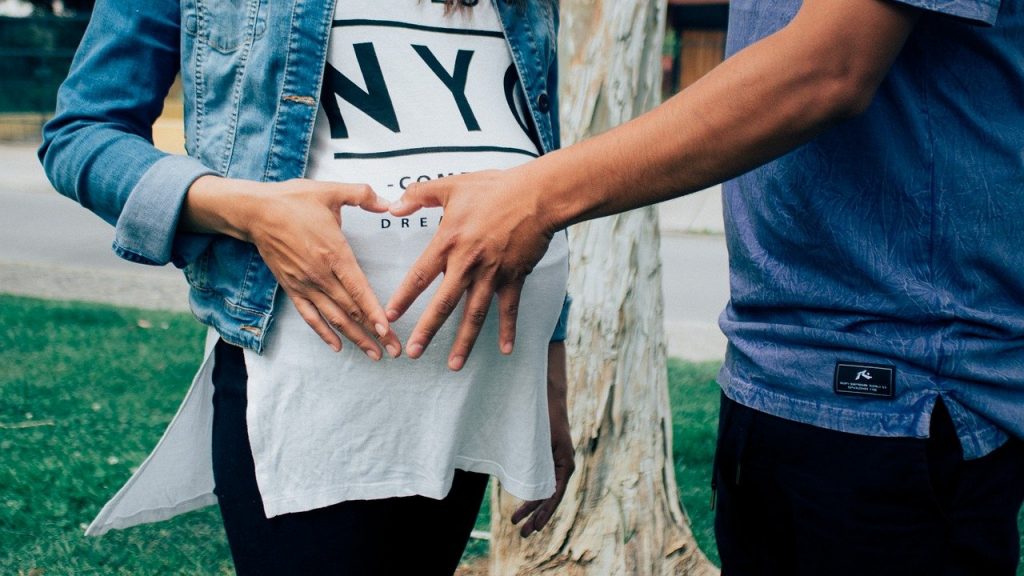
3. Your partner should be a part of the picture

pregnancy photoshoot ideas

To get the most out of the photograph, make sure you include your significant other as well in it. Those couple maternity photos will show your joy for the new arrival.

4. Show off your furry friends

Including your pet in the snow or among the autumn leaves in your maternity photography is a great way to bring the wow factor to the next level.

Conclusion

As a mother, you may wish to relive this special period, and you do this with a photoshoot. Reach out to a professional to help you create beautiful memories or even your family or friends. 

Travel Photography Editing Services in USA

January 3, 2022 | Blog | No Comments

photo editing service providers

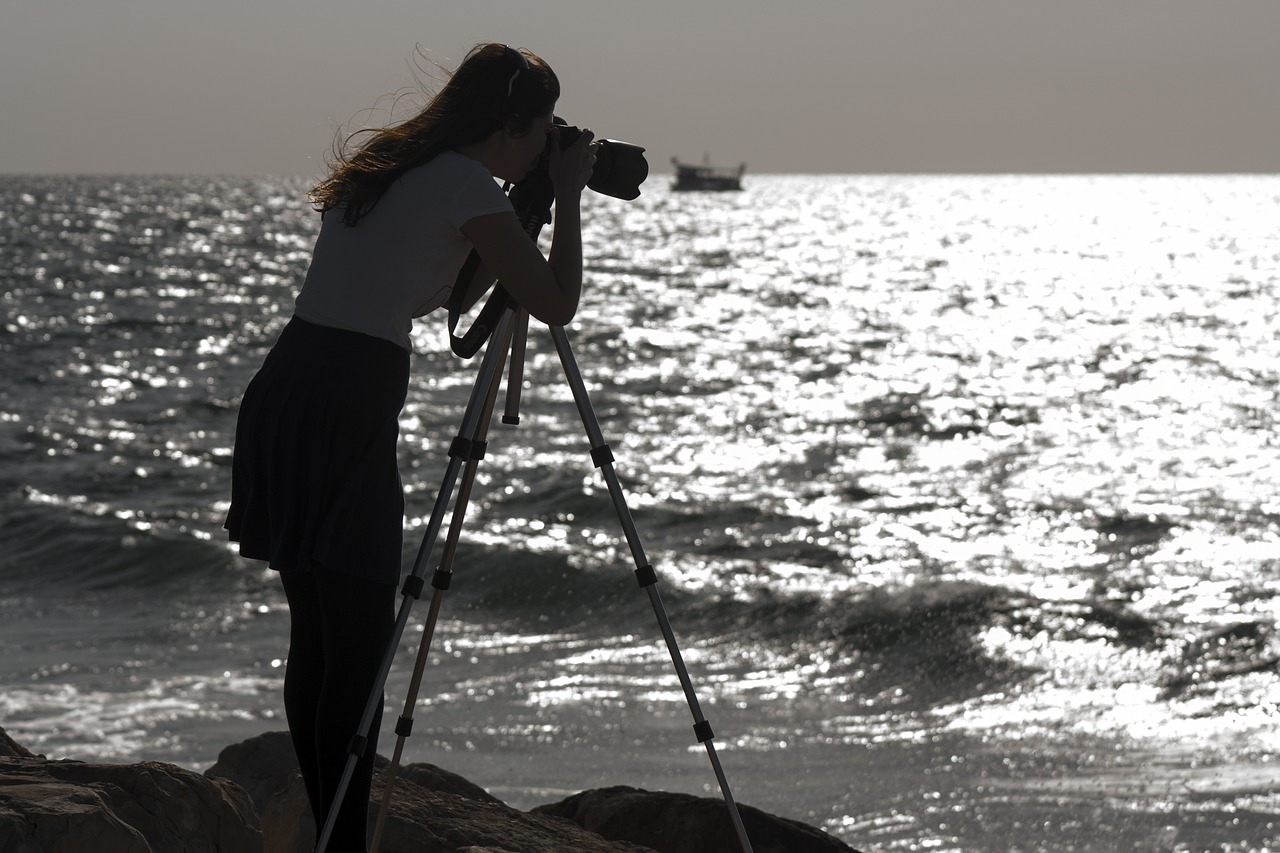
It’s not enough to take a beautiful photograph when practicing travel photography. Tell a narrative, teach people, and inspire them. With travel photography, you can do so much more than just take pictures of scenery or people in a portrait. That distant place is documented in a single frame, bringing the spectator into the scene and having them wish they could be there as well. Here you are going to understand the travel photography editing works.

The best travel photos are more than a snapshot of a moment frozen in time. Using this method, you can tell a tale and express your feelings. Photographing the world’s most beautiful places inspires and motivates me to see and do more of what it has to offer.

Are Travel Photographs Required to be Edited?

You’ve just returned from a once-in-a-lifetime adventure. With thousands of images to choose from, it’s time to go through them one by one. It’s possible you’d like to show them off to your loved ones or even submit them for publication in a magazine or blog. Alternatively, you may simply wish to display the photographs on your walls. 

But there’s just something missing to make them pop out distinctly. This is when you could use the best travel photography editing services! Your trip photos can benefit from an extra layer of attractive quality if you edit them.

Travel Photography Editing services

1. Smoothening of photographs

travel photography editing services

Have you clicked a picture of a beach? Is the wavy horizon deviating from the overall beauty of the scene? Many problems can be fixed by an editor, including this one. Using the lightroom levelling technique, an expert may simply alter the grid and get a precise alignment. Hence, the photograph you had in mind to throw away has been restored to its former glory by a photo-editing service specialist. Vignetting is another Lightroom technique that may evoke emotion in a photo by adjusting the brightness or darkness of specific parts of the image. An editor could also use it to increase the number of clicks you receive.

2. Adjusting the colour

travel photography lighting edits

Due to a lack of natural light, certain clicks may not be as visually appealing as they may be. Send them to post-production instead of deleting them right away. Professional editing services tweak the saturation, contrast, and highlights to bring these drab images to life. Oversaturation of the colour adjustment tool can give an image an unnatural appearance. To get the required visual effect, only photo editing services can use this technique in moderation.

3. Cropping

Including too much of the surroundings can detract from the main point of the image. If you want a little picture, you need to crop it correctly. Furthermore, over-cropping can detract from the picture’s important message. In the case of a one-time click, we’d advise you to handle it yourself. You can’t take a risk with these images because they are proof of your abilities as a professional photographer. As a result, using travel photo editing services would be fantastic and secure.

cropping works

4. Correction of blemishes

When you’re photographing people, you must remove any imperfections that obscure the subject’s face. Landscape photos can also benefit from this editing tool, as it can positively modify the photo’s background. You should only use the best travel photography editing services to ensure the best possible outcome. 

Conclusion

To give your perfect image an even perfect touch, don’t shy away from photograph editing services for your travel photography.