Category: Blog

Home / Category: Blog

real estate photography ideas and tips

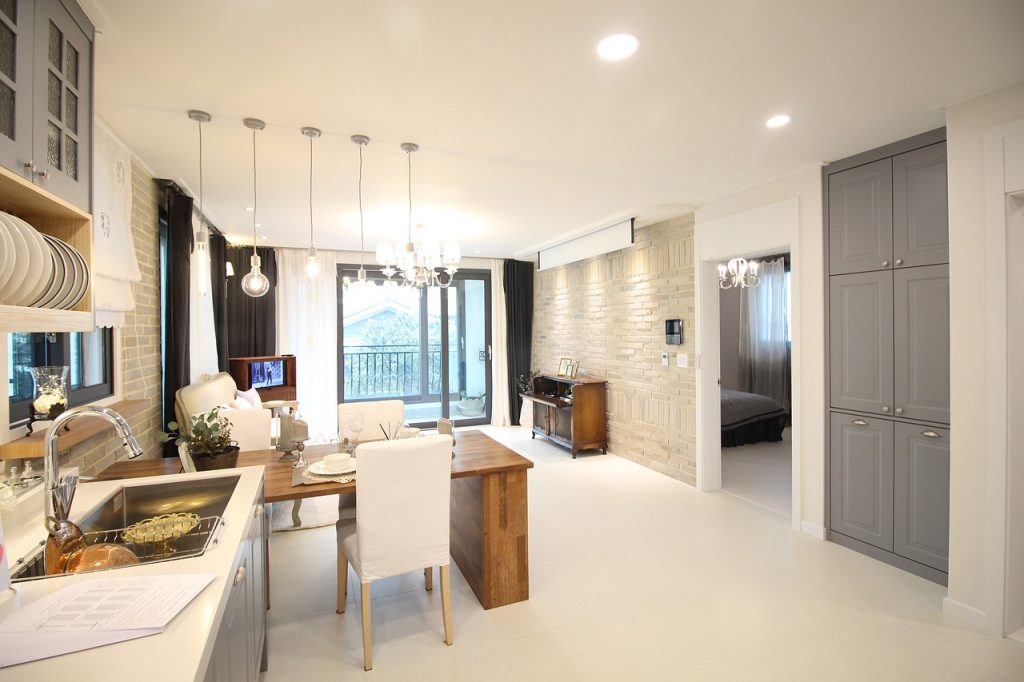
With the perpetual increase in population everywhere, people need places to stay. So, one thing is clear that real estate photography will never go out of demand. Real estate photography is required to attract new tenants/buyers. The pictures are put on listings, and if the images are taken well, the place will have many more buyers. 

The place does not have to be great for the pictures to look great. With little tweaks in your style, you can make a home look bigger, spacious, and much chicer than it is. Getting small things right takes time and practice, of course, but there are tricks that you can use right away to make your real estate photography much better than it is now.

Here are Some of Those Tips:

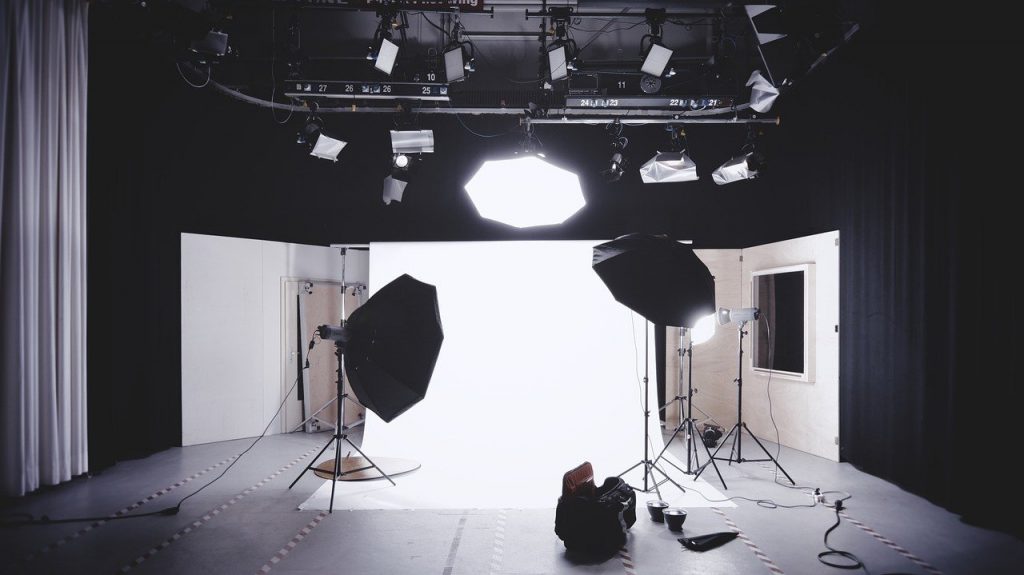
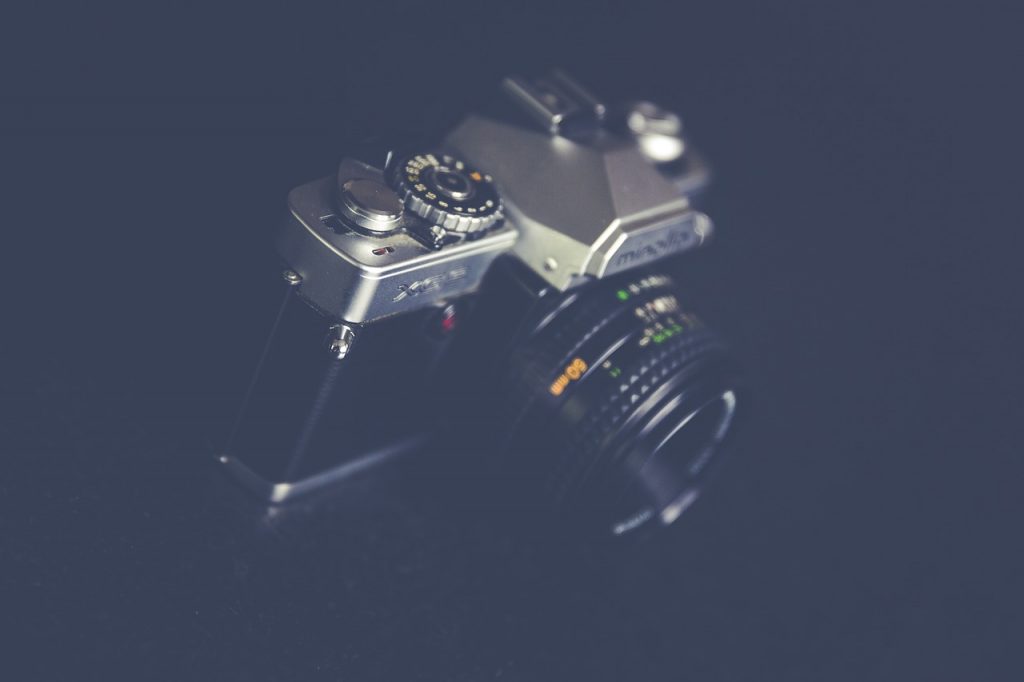
1. Choose the right equipment

Choosing the right equipment will get most of the job done for you. To get crisp and clear pictures of the space and impress any potential buyers, make sure you shoot with a DSLR or a mirrorless camera. A wide lens would be best for photography of spaces because it makes a place look more open than it is. You can also use a tripod to ensure that the shots you take during real estate photography are as stable as you can get them.

2. Capture each part of the property

real estate photography tips

It is important to ensure that everything in the property is captured for the potential buyer/tenant to see. That way, it becomes easier for them to make a decision. While capturing each room/space in the property, make sure to take multiple shots from different angles so that you can finalize the best angle. While doing real estate photography, it is also great to convey the essence of the place and enhance its advantages. For example, if an apartment has huge windows with a beautiful view, it would be great to highlight that in the pictures.

3. Prepare your gear for the shoot

Whatever you choose for the shoot, make sure that it is ready the night before. Make sure that your camera has enough charge and carry an extra battery just in case. It is also smart to empty the storage the day before to have enough space for new pictures. Once you are on the site for real estate photography, nothing should stop you from taking as many shots as you can.

4. Minimize distractions

Photographs come out the best when there are no distractions in the picture, and it is clear what the focus of the photo is. The best way to reduce distractions is to declutter the entire space. Make sure there is no mess where you are trying to take the pictures. It would also be good to move any articles and colors that are too loud and overpowering.

5. Take your time

When you enter the house at first, do not start snapping right away. Take your time to walk through the place and plan your shots. Real estate photography results in the best pictures when they are taken with proper planning. Try taking a few sample shots, setting up your lighting and tripod in a place, and taking your final shots. This way, you can be more confident of the outcome.

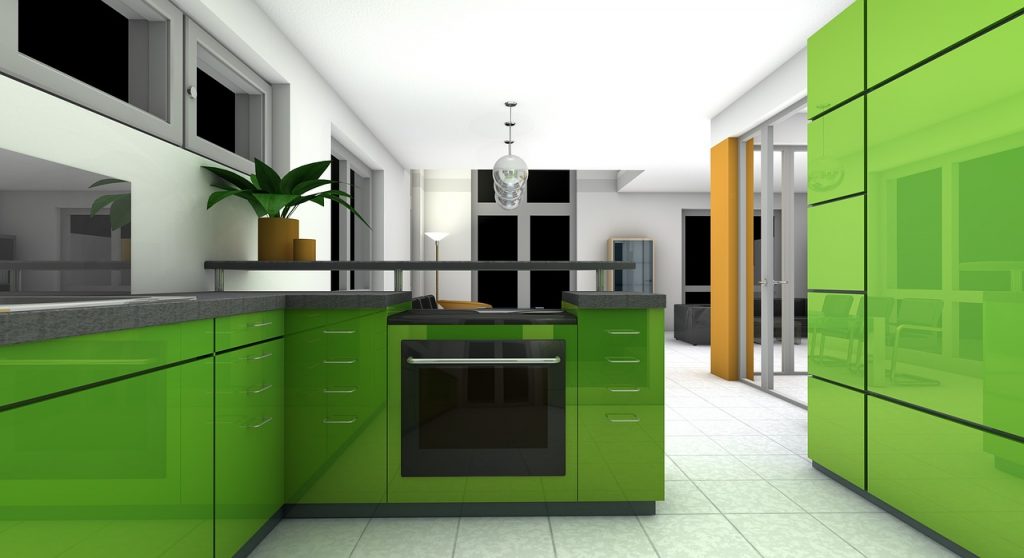
6. Ensure good lighting

real estate photography kitchen

Lack of light can be a problem for real estate photography. The properties that look bright and well-lit appear much bigger and better places to live in. Make sure that you are shooting with a prominent light source such as a big window or balcony. If not, it would be advisable to get external lights and diffusers to make the place look evenly lit and bright.

7. Great composition

Make sure that the composition is pleasing to the eyes and yet simple. The composition can make or break a picture. So, ensure that everything that is in the frame is there intentionally and has a purpose. Follow the rule of thirds if you are unsure about other things. Try to maintain the balance of the picture with having relevant components.

8. Edit the pictures well

You cannot get the perfect picture without making minor changes post-production. To edit tones, temperature and to balance out highlights and shadows, you have to edit pictures. You can use any software such as Photoshop, Lightroom on either your PC or phone for editing. You can also use phone apps like Snapseed etc.

9. Always shoot in landscape mode

The human brain is said to find landscape mode more pleasing than the portrait format of our phones. This is because the human eye sees roughly in the ratio of 4:3. Also, the landscape view is the most optimal for covering a space that is laid down horizontally. All the elements in the picture in real estate photography will follow a horizontal line in the picture. That is why it makes more sense to click pictures that way.

10. Practice

Practice is what makes one perfect. You can read these tips all day long but what will get you actual skill and talent is your practice. You can do this anywhere. To perfect your skills in real estate photography, you can start at your home or friends’ home. After each shoot is finished, edit the pictures and judge what you like or dislike about each picture. This will give you insight into what you like, the optimal angles and help you develop your own style too.

Takeaway

These are some of the tips that might help you to become an expert in real estate photography. It doesn’t matter where you are in your journey; the only thing that matters is that you want to learn. You can begin any time, and you can start learning with any entry-level equipment. It is important to begin somewhere because the point you start, you’ll begin to understand your equipment and photography as an art more. As mentioned in the last tip, the more you do it, the better you will become.

You can reach out ShootPro24 for editing your real estate photographs. With decade of experience the team stands as the best photo editing service providers in USA.

reflector in photography

Few things are essentials to great photography: composition, story, and lighting. If you get these things right, you make your pictures look great with or without expensive equipment. It isn’t necessary to have bulky professional cameras for great pictures. If you get the basics right, the pictures will turn out great. One of the things that you can start learning is how to make your pictures well-lit. Lighting cannot always be in your control, but you can learn to use the lights you have properly. This can be done with a suitable reflector in photography

How to Choose the Perfect Reflector

There are many kinds of reflectors for you to choose from if you want to use reflectors in photography. Sometimes, the variety can be overwhelming, but once you recognize the kind of pictures you click, it will be easier to narrow down which reflector you should get. There are many sizes of reflectors and shapes as well. The colors are as varied as silver, gold, black, translucent and white.

What are Reflectors Made of?

Reflectors can be made out of any shiny material. You do not even have to buy a reflector in photography as it can be fashioned out of the things lying about in your house. These things are articles with very different uses, and you would never imagine that they can be used in photography. For example, you can use a white cloth to diffuse light and aluminum foil to reflect light when you want sharp contrast in the pictures. You can also use mirrors by angling them so that they reflect the exact amount of light you need. You can also use colored translucent sheets to diffuse colorful light onto the subject.

Ways to Use a Reflector

reflector in photography

If you are starting on your journey as a photographer, you might not be aware of all the ways that a reflector can be used. Knowing what reflector in photography to use in a particular condition can help you improve your skills and quality of pictures. Here are some of the ways that you can use your reflector to benefit you in photography:

  1. As a diffuser – Great lighting is essential, and there are no two ways about that. But when there is too much light in the surrounding, it can ruin the pictures by reducing the quality. In such a situation, using a translucent reflector can save the picture. It diffuses the light and spreads it evenly all over the subject.
  2. Shoot in the shade – When you use a silver reflector in photography, it reflects the light coming from any source. The amount of light that falls on your subject can be adjusted by changing the angle of the reflector. This will help in making sure that the picture is well lit.
  3. Use in too much light – If the light is too harsh, you can use the white reflector to spread the light evenly and lessen the shadows a little bit. Choosing the right reflector here is important. If you use the wrong reflector, you might add too much or too little light.

Here are some ways to use a reflector, but you will figure out many more ways and tricks to use in your pictures as you progress in your photography career.

You can meet the professional photo editing service providers for the best editing works for your shoots.

10 Pin-up Poses – Classic and Vintage

July 5, 2021 | Blog | No Comments

Pin-up Poses

Do you have an upcoming photoshoot, or you want to create some stunning yet professional content to increase your engagement? Then try some pin-up poses. In 1950, many beautiful and attractive models and famous actresses started posing in a pin-up style. This trend became famous across the United States of America like wildfire.

Posters of women in these poses helped the American soldiers keep their morals and hope up during World War II. From that time, pin-up poses became highly popular throughout the world. Here are some of the most iconic pin-up poses which will surely help your photoshoot session go smoothly.

1. Classic S

classic s pose

Without any doubt, the classic S pose is one of the most classy and elegant pin-ups poses. This pose has been well-known over the entire period of pin-up history. The plus point of this pose is that the model can show off its body shape gracefully.

To nail the look, ensure you wear shoes and a bright lipstick shade like red or pink. You can slightly raise one leg and make sure you place your hands on the waistline. For props, you can use flags or balloons as well.

2. One hand on Waist

While doing this pose, ensure that you turn your body a little to the side and slightly arch your back to give an illusion of longer legs and a rounder bum. Ensure that you place one hand on the Waist and your other hand can be placed on the leg or in the air.

This pose makes the lower part of your body look very attractive. To nail this type of pose, models usually wear a pantsuit or a shirt and pants.

3. Fixing the Hair

fixing the hair pose

Models use this pose when focusing on the hair and not that much on the entire body. To do this pose, the model acts as if she is fixing some part of her hair. This pose will add more attention to the model’s hairstyle. To spice the look, you can wear a headband or make use of some hair accessories.

4. Girl Power Pose

vintage women pose

The girl power pose is vintage and women-empowerment pin-up pose. Everyone is familiar with this pose from the poster, “We can do it!” which has been famous from the past century. One can recreate this look by dressing in a plaid shirt, bright lipstick shade, and a headband.

5. Blow a Kiss

blow a kiss pose

One can nail the blow kiss pin-up pose in both full-length shoots as well as portraits. This pose is ideal for romantic themes like an anniversary or Valentine’s day. For models with a round face structure, ensure you indirectly look in the camera.

6. Raising both hands

This pose is similar to the mentioned earlier classic S pose. The advantage of this pose is that it will make your body look slimmer and give an hourglass figure illusion. To make this look more flattering, try leaning onto a wall. For a fun shoot, you can make use of Chucky accessories, or you can blow some bubbles with gum.

7. Back Facing the Camera

The ideal location for this pose is outdoors or in a workshop. The model can either look in the camera directly or a little away. For a full-length portrait, ensure that you stretch one of your legs towards the camera. The hands can hold an object or can be kept in the front. The color grading in this pose is crucial. The main focus should be on the face.

8. Barstool

bar stool pose

To nail this pose, ensure to use a tall bar stool with a neutral or plain background. There are multiple ways you pose. Either you can sit on the stool with one leg or both the legs bend. You can even rest your legs on the chair. There are numerous ways to play around in this pose.

Remember to take care of your posture, make sure you are not slouching, and your back is straight. Another plus point of this pose is that it does not matter whether your body is turned straight, sidewise, or turned at the camera.

9. Hands-on Chest

The Hands-on Chest pose is one of the most iconic and beautiful pin-ups and helps accentuate the model’s waistline and chest. One can squat a little or stand straight. It is recommended to wear lingerie or body-hugging clothes like a bodycon dress.

10. Sitting on knees

The perfect location for this type of pose is outdoors or in a studio. Add a slight arch to your back to give an illusion of a smaller or smaller body shape. You can either raise your hands or place them on your knees.

Conclusion

There is a large variety of pin-up poses to choose from. Ensure to use the appropriate accessories and props, which help to enhance your look in the pin-up pose you are trying.

Anyway are you ready with your pin-up pose for editing. You can reach us for the best photo editing services. You can contact us here ShootPro24.

Wedding Photography Tips

July 3, 2021 | Blog | No Comments

wedding photography tips

A wedding is always a stressful and hectic time for the couple, their parents, and photographers. The wedding photographer holds the most crucial job of capturing the perfect live moments of the couple’s biggest day.

There is a high degree of experience and professionalism required to get the timing and details right. You need to capture every minute detail, emotion, and event. A wedding is a once-in-a-lifetime event. So your margin of error for capturing the perfect moments should be zero. Here are some of the wedding photography tips which will prepare you for perfect shots.

1. Choose the Ideal Location

wedding photography tips

According to your client’s requirements and theme, start researching a venue that is suitable for them. For the couple’s post-wedding shoot, an outdoor location is more preferred. Ensure you know the details of the site, like the environment and climatic conditions.

Before the wedding, ensure you visit the area beforehand. Make a list of the potential shots you can take in various places and how the lighting affects the image during the day or night.

2. Keep Backups

Make sure that all your gear, lenses, and cameras are in perfect working condition before you set out for the wedding. A day before the big day, clean all your lenses. Ensure that you are carrying enough memory cards, weatherproof gear, and additional lighting. Remember to pack all the required props you need for the wedding shots.

In addition to all this preparation, ensure that you carry backups to reduce any technical mishaps. If you can not afford a second camera, then get a rental camera. As weddings are a big moment, you may want to have many photos. Hence after the event, make two copies of every shot.

3. Assistant Photographer

For a big wedding, it will be complex and challenging to cover the whole event by yourself. Hence it is recommended to hire an assistant photographer to capture every detail and reduce your workload. The assistant can focus on the guest and other minor events of the wedding while capturing the main moments.

4. Know you couple

wedding photography tips

It is very crucial to know about the couple you are working for before the wedding day.  Remember that you are not capturing random events of the couple. The photographs need to narrate their story. About love, trust and hope they have for each other. Talk to them about how they want their wedding photo album to look. By making a checklist of their expectations, your job will get a little easier.

5. Elaborate on minute details

We all know that it is the little things that matter the most. When the couple goes through their wedding, they should experience how they felt on their special day. Look for the most subtle yet beautiful moments they have missed out due to the tension or rush. Ensure your shots beautifully display even the minute details of thor wedding.

Conclusion

Remember that a wedding is the most important event in anyone’s life. Ensure you are completely prepared with your equipment. Know your angles and lighting as they play a critical factor while capturing the perfect moment. I hope that these tips help you with your upcoming wedding shoot.

You can reach out the best photo editing service provider in Illinois- ShootPro24. For an affordable and better editing services for your wedding photos.

Product Photography Tips

June 28, 2021 | Blog | No Comments

best product photography tips

Many people think that still life or product photography is not as indulging as photographing live subjects. But product photographers say otherwise. In product photography, you can play around and push your creativity to a new level limit. Here are some product photography tips for capturing stunning shots.

1. Use the Right Lens

The use of a wide-angle lens affects the object’s proportions, making your product look distorted, and no one wants that. The main focus is on the product you need to capture and represent it beautifully to please your client perfectly. It is suggested to use standard or regular lenses that work closest in comparison to the human eye.

2. Angle and Aperture

Angle and Aperture

The widest aperture or lowest f-stop makes sure that the object is in the middle, making it the center of attraction. Ensure that the background and everything around it is blended smoothly. If you are using a model, remember that the audience’s attention should be on the product at hand and not the secondary object. Try to use an aperture that is large enough to capture every minute detail of the product perfectly.

3. Lighting Techniques

In photography, especially of products, lighting is the most crucial factor. According to the intention of the shoot, the lighting parameters will change. Remember to aim two lights at the backdrop on either side of the products. This technique will help highlight the product from the wall. Then use one light in the front and one slightly above the product. This angle will eliminate any shadows formed and will make sure the product is perfectly lit.

4. Know how to Sell the Product

The key to selling any product is to sell the idea of the product to the customer. Whether purchasing this product makes your life more convenient, using a specific interest or a particular lifestyle. The shot of the product should tell the story of why you need it in your life. – One of the perfect product photography tips.

5. Experiment

Play around with different styles and put your creativity to the taste because your subject will not object to it. You can play with reflections as well. But pay close attention to how your lights, angle, and you reflect in the product. To remove any reflection, you can either move your tip or retouch it later.

6. Color Theory

Ensure that you have a high level of knowledge about using different colors to enhance an image. Color theory is vital to understanding how different colors affect humans’ thinking processes, emotions, etc. The proper selection of color shades will help you a lot in marketing the product.

Make full use of the four well-known color combinations, Complimentary, Triadic, Analogous, and Split Complementary. Ensure you have the perfect lighting. After the shoot, you can always play around and adjust the colors in the frame to suit your requirement.

Conclusion

There are no hard and fast rules to abide by to take photographs. According to your needs, use these tips to enhance your skills. Remember you do not need any fancy course or expensive equipment to take photos. All you need is some inspiration, a little knowledge of the field, and creativity. Please comment below your suggestions for product photography tips.

You can reach shootpro24 for perfect photo editing and video editing works for your projects.